Did your child ever fill a glass of lemonade so full, you thought it would spill? But then it didn’t? That’s what we call surface tension. But how to explain surface tension to kids? A question not so easily answered.
Contents
Experts say, kids are like a sponge, they absorb every information that you throw at them. Studies suggest that a child’s brain is twice as active as an adult by age three. This is because their brain is more flexible and has more connections per brain cell than an average adult.
Children learn by playing, through fun activities, and experimentation. If you put in a bit of effort and try to explain things through activities and experiments, your kids will more easily retain the lesson.
A few years ago, all of this was just something that I had heard. Reality struck when my son turned six and started asking all sorts of questions about things happening around him.
I had to answer him, and drab science books weren’t cutting it. That’s when I remembered about DIY experiments. I started using this method for teaching everything.
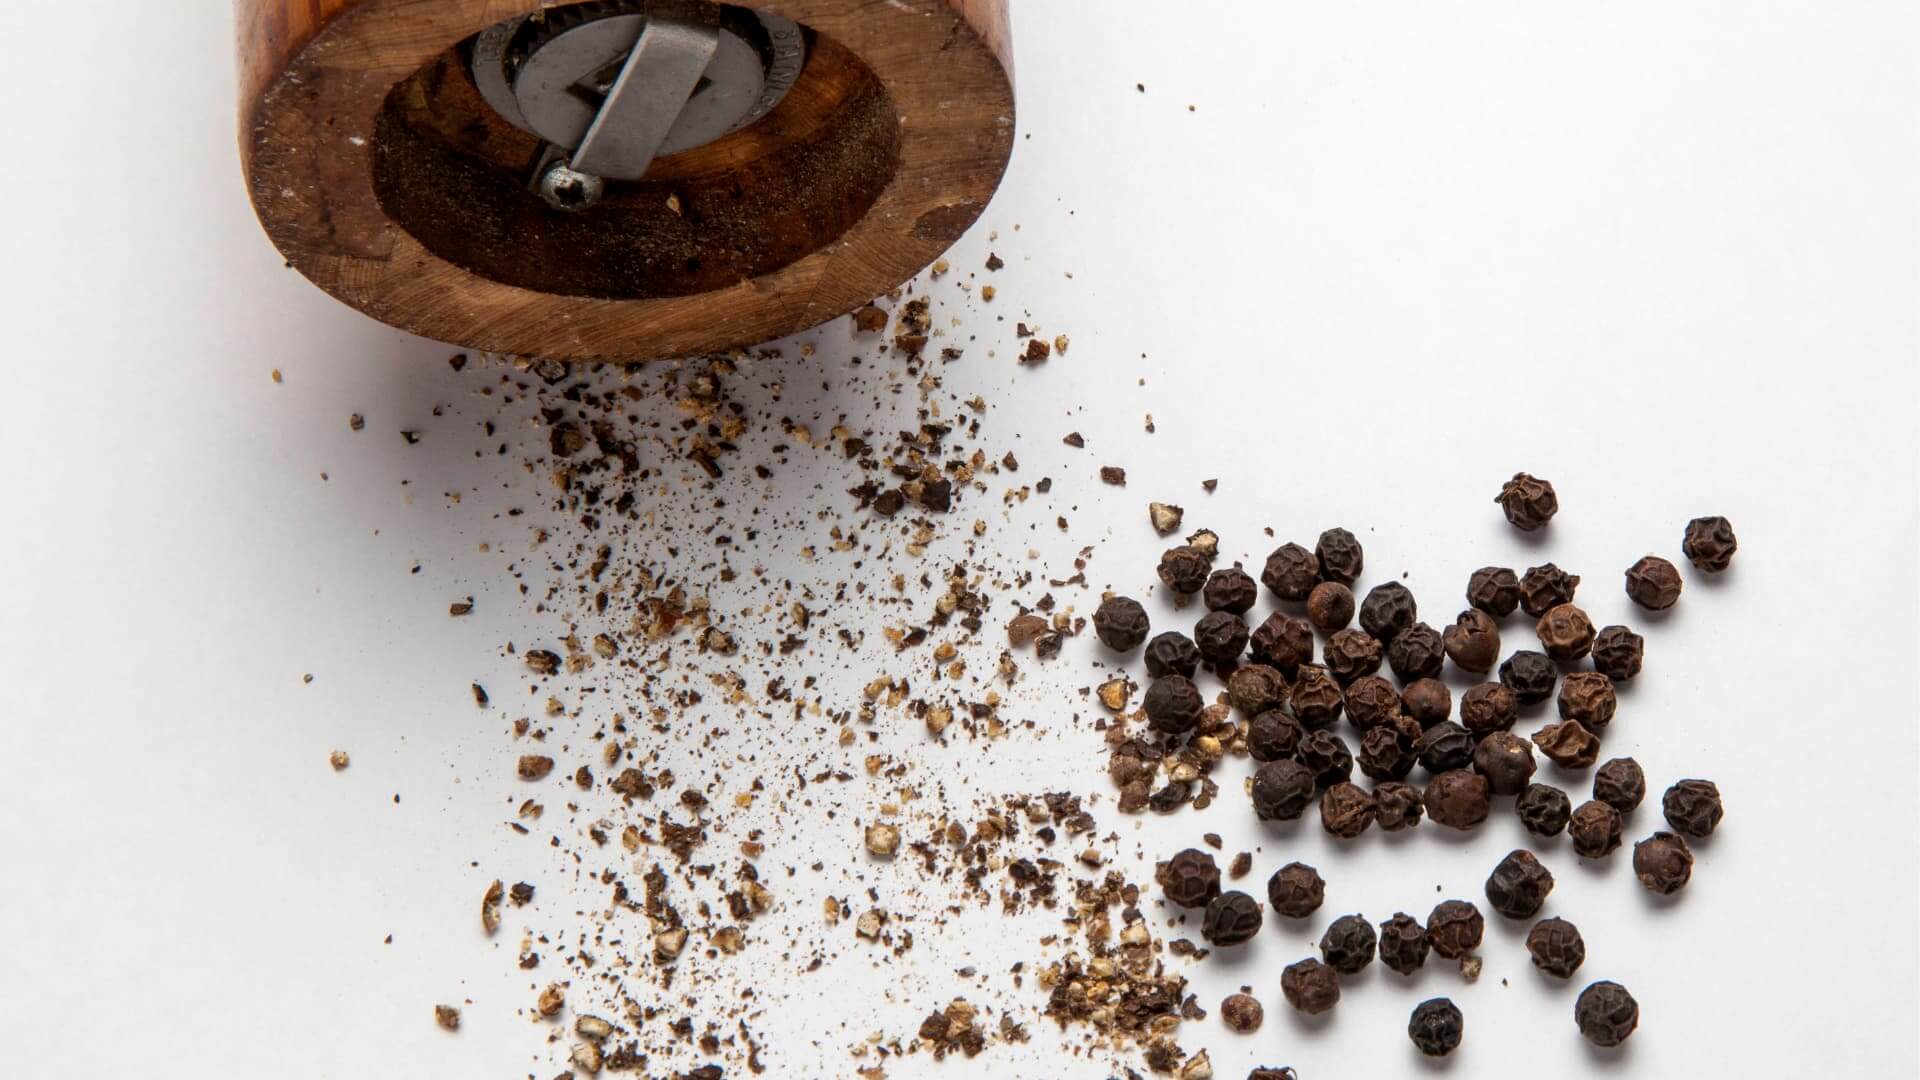
Pepper and Soap
Recently, he saw a video on the internet where pepper sprinkled on the surface of the water in a bowl dispersed when someone dipped a soapy finger in it.
Hee did the same at home and was amazed by the result. As usual, the barrage of questions aimed at me was relentless, and I was unprepared.
After searching around on the internet, I had my answer: surface tension. But the concept seemed challenging to explain with mere words. Read below, and let me know if you understand.
Surface Tension: The Theory
Before we go ahead, let’s first understand the “concept” behind surface tension ourselves. Water molecules (or any liquid for that matter) attract each other. That is why liquids don’t just fly off like gases.
But the poor surface molecules don’t have others to cling to, like the rest of them on the inside. So, they are attracted even more strongly to the ones nearest to them (directly below them).
Because they are trying so hard to stick with the rest of the liquid, the surface molecules create a “barrier” that doesn’t allow things to penetrate and fall inside the liquid. This phenomenon is what scientists call “surface tension.”
Well, now that you know the theory, you might understand why I decided to use the experimentation route with my boy to explain the concept.
Below are the experiments that I tried. I hope they will help you too!
Experiment 1: The Ultimate Pepper And Soapy Finger
This experiment was the simplest one for him. You only need simple ingredients, which you will probably have in your kitchen pantry.
Ingredients you will need:
- A bowl
- A glass of water
- Pepper powder
- Liquid soap
Steps to follow:
- Fill the bowl with water. The water should be at least one finger deep.
- Sprinkle some pepper powder on top of the water. For a spectacular view, add a little extra powder.
- Dip the tip of your child’s finger in the liquid soap.
- Now ask your child to touch the surface of the water with a soapy finger.
- See the magic happening!
What did you observe?
You must have observed that pepper moved away from the finger and gathered near the edge of the bowl. All this happened because of the surface tension.
When your child inserts the soapy finger in the bowl, it breaks the surface tension near the finger. However, the surface tension remains the same near the edges. Hence, as the molecules near the finger start moving towards the edges, they carry along with the pepper powder.
While all this was happening in the bowl, you will also observe that some pepper has sunk at the bottom.
This is because the tension in the middle broke, and since the density of pepper is more than water, it sunk.
Experiment 2: Water on Penny
If you want to convey to your kids how water molecules hold each other, this is the perfect experiment.
Ingredients you will need:
- One penny
- Squirt bottle filled with water.
Steps to follow:
- Put the penny on a flat surface or a tabletop.
- Use a squirt bottle to drop water droplets on a penny one by one.
- Now ask your kids to stop when you see that the penny cannot hold any more water.
- Observe the water dome on top of the penny (from the side and not from the top).
What did you observe?
You observed that a small dome of water formed on top of the penny. This is because the water molecules hold each other so tightly that they don’t want to separate.
They cling to each other because there is no other water molecule to hold. They hold each other so tightly that skin seems to form on the surface.
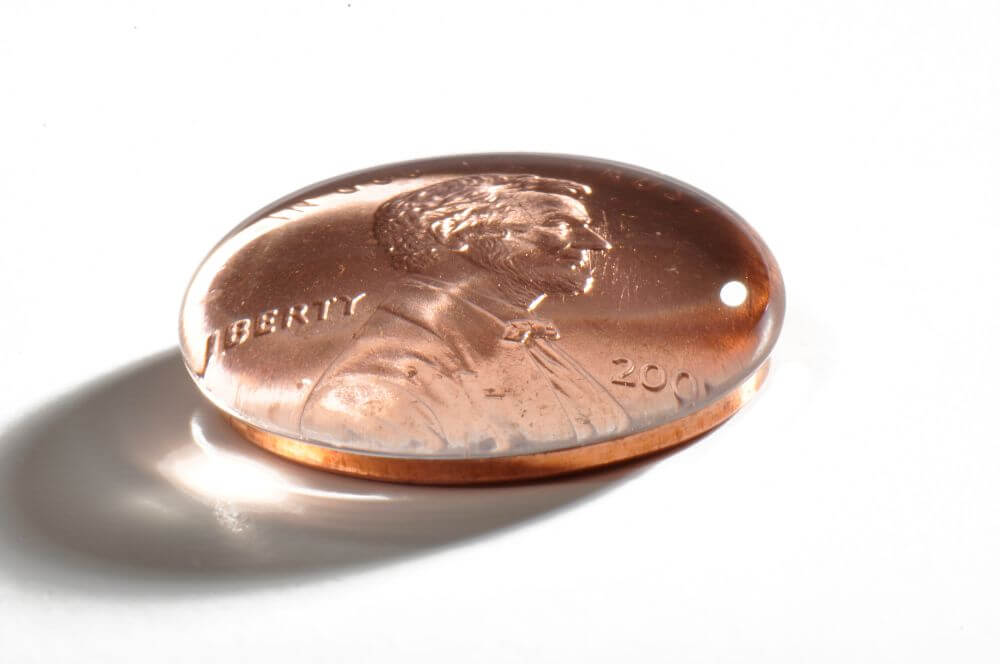
If you sprinkle some pepper powder on top, you will observe that it did not sink because of their skin layer. This is the surface tension that prevents pepper from sinking or water from penny from spilling all over.
Of course, if your child keeps adding water droplets, a time will come when the water molecules will no longer be able to hold each other tightly, and some water will spill on the table.
Experiment 3: Wooden Skewer Experiment With Soap
This one is almost the same as the pepper powder experiment. There is just one difference that instead of pepper powder, we will use wooden skewers.
Ingredients you will need:
- Wooden or bamboo skewers
- A large bowl
- Liquid soap
Steps to follow:
- Fill the bowl with water.
- Place three skewers in the shape of a triangle.
- Now ask your kid to add one or two drops of soap in the middle of the triangle.
- Observe the skewers’ movement.
What did you observe?
You will observe that as soon as your child adds a few drops of soap to water, the triangle collapses. This is because the soap molecules broke the surface tension near the sticks, and the water molecules carried them towards the edges of the bowl.
The surface tension kept the sticks in their position but as soon as the surface tension was disturbed, water molecules started moving towards the edges carrying the cocktail sticks with them.
Final Words
Weren’t all these experiments exciting yet straightforward? I learned a lot about surface tension myself through these activities. I hope you will try them too and don’t forget to let me know how it went!
As a parent of a five-year-old inquisitive boy, I have gained a lot of experience finding fun activities and toys to help him understand science and understanding our world in general. On this blog, you’ll find an extensive amount of tutorials, guides, and toys about Science, Technology, Engineering, and Math based on my personal experience to help your child develop critical STEM skills.