Weather is the term that you use to describe how the atmosphere outside is. For instance cold and cloudy, hot and humid, windy, chilly, stormy, and so on. From lenticular clouds to dust devils, our atmosphere has created some exciting phenomena across the globe.
Weather includes many beautiful effects in the sky like the formation of a rainbow, sunsets, or thundering of clouds. The climate varies from one place to another. In some areas, it is snowing now, while in others, it is bright and sunny.
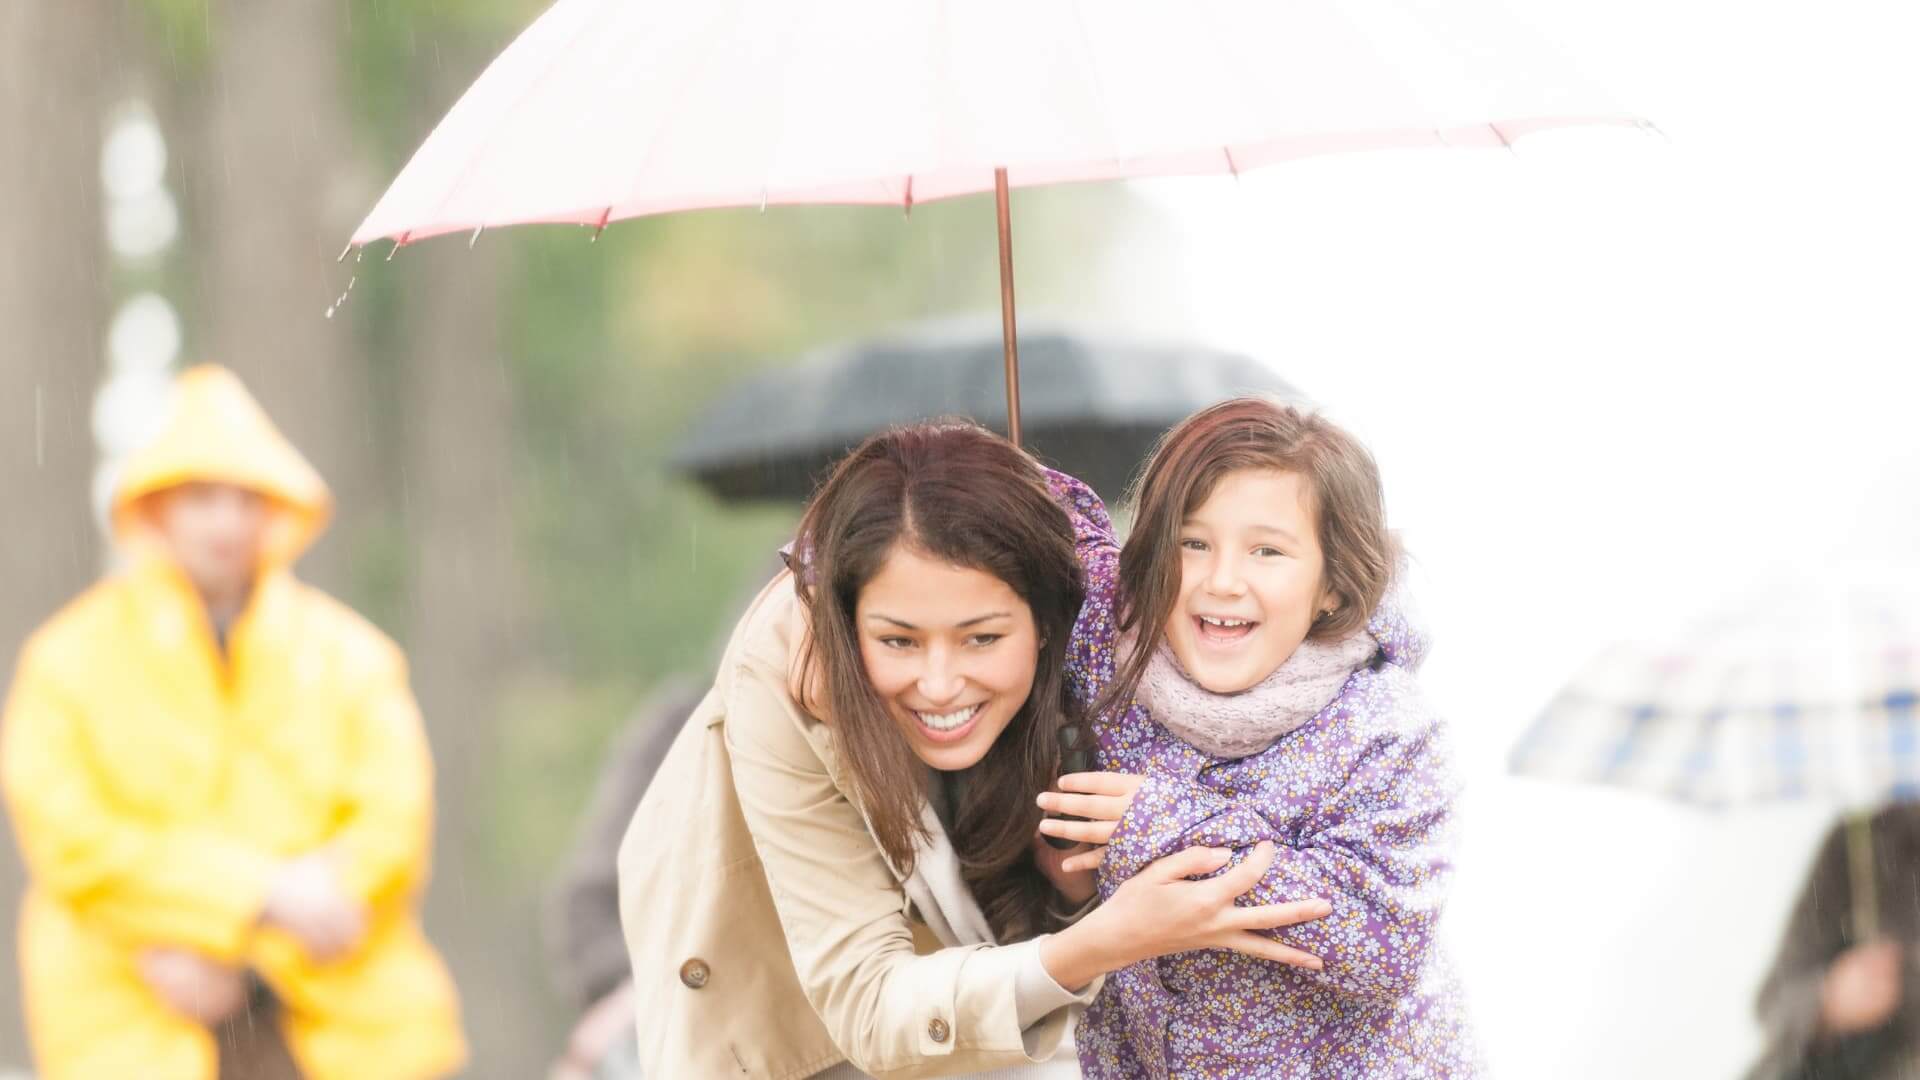
It is never too early to have your kids learn about the weather. But, it would help if you were mindful about how they learn such things. There are several fun ways in which you can make kids learn about the fundamental factors of weather.
Weather is easy to relate to, so many DIY experiments can demonstrate the effects of weather on children. In this article, we will talk about a few such simple weather science experiments for kids.
Contents
Crafting DIY Thermometer With A Glass Bottle
Did you know that you could make a DIY Thermometer with a glass bottle? Although we are using the term experiment, it’s more like a fun activity. It will keep your kids engaged. If your kids are older than seven years, you can explain the science behind this experiment.
What will you need?
- Glass bottle (empty)
- Water
- Food coloring
- Straw
- Marker
- Modeling clay
- Rubbing alcohol
Step-by-Step Guidelines To Make DIY Thermometer
- Fill ¼ of the bottle with water. Add an equal amount of rubbing alcohol. The bottle gets half filled. Add a few drops of colors to the mixture. You can ask the kids to pour food coloring into the bottle.
- Insert the straw into the bottle. Note that the straw won’t touch the bottom of the glass bottle. Wrap the straw and top of the glass bottle with the clay. It will hold the straw in place and prevents it from falling off.
- Observe how far up the straw the liquid comes. With the marker, mark the line where the liquid stops from filling the straw. The line indicates the internal temperature of the bottle right now.
- The temperature of the bottle will vary from one place to the other. You’ll find that the liquid either sinks below or rises in the straw. When the temperature is high, the liquid rises. And vice versa, the liquid sinks if the temperature is low.
The Science Behind The Experiment
As the mixture of water and alcohol gets heated, it expands. It pushes down the fluid and increases the pressure inside the jar. When it cools down, the straw gets filled with water.
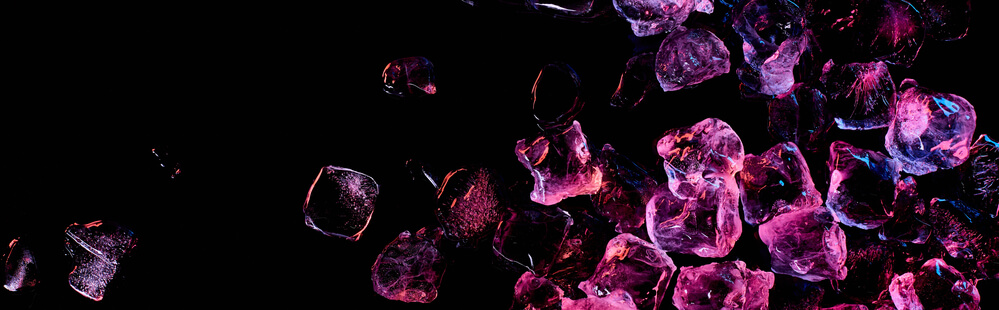
Formation Of Thunderstorm
This is a simple but fun experiment. It is appropriate for kindergarten and grade one kids.
What will you need?
- Ice cube tray
- Water soluble food coloring
- Water
- Cleaned shoebox
Step-by-Step Guidelines To Make Hands-on Thunderstorms
- To make blue ice, you will have water and add blue food coloring to the ice cube. The steps are easy, but you’ll need some time to freeze the water.
- Once the blue water gets frozen, you will need to fill the shoebox with lukewarm water. Lukewarm water helps in forming thunderstorms.
- Ask the kids to add three or four red colorings (red) on one end of the box. Kids need to add two blue ice cubes on either side of the box.
- The food coloring gets dispersed into the water. The blue ice gets melted and gradually transforms into cold water.
- As the cold water gets mixed with the lukewarm water in the box, the red water rises. Right at this moment, when the blue water forces the warm water up, is where you have unstable air that results in the formation of a thunderstorm.
Creating Rainbow Color Patterns With A CD
Kids are fascinated with rainbows. This experiment will let them know what’s the reason behind the formation of rainbows. You need to perform this experiment on a sunny day. The sunrays will get reflected, which in turn will ease off the rainbow. It’s a perfect balance of arts and science, and the kids will love it.
What will you need?
- Old or blank CD
- Scissors
- Tape
- Pencil
- Paper
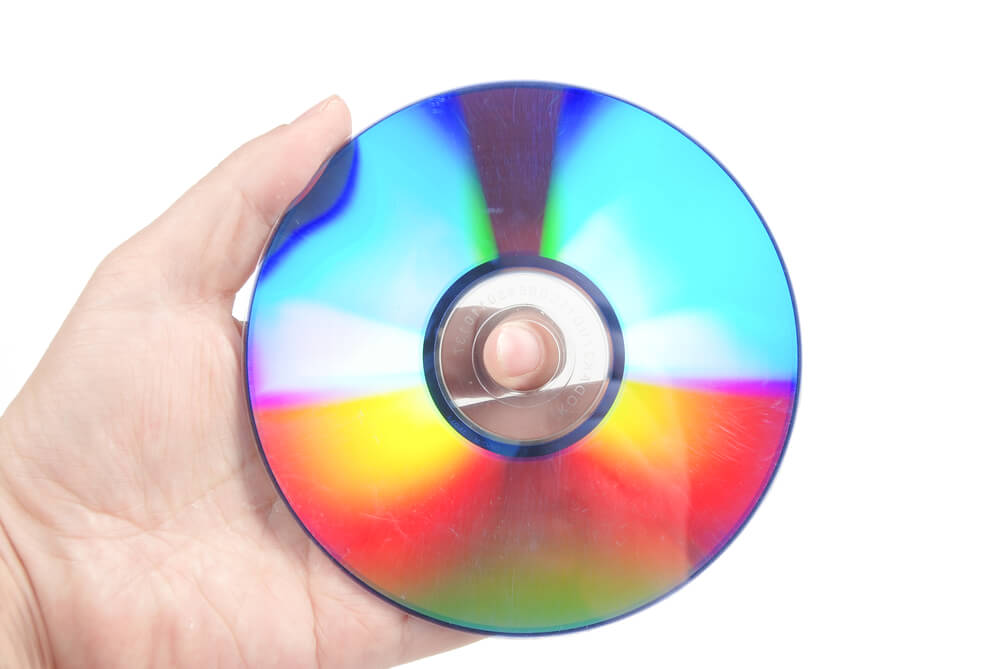
Step-by-step Guidelines To Produce Rainbow Color Patterns With A CD
- Look for an outdoor place or an area in your house to conduct this experiment. You will need access to the sunlight with your CD. Have a poster board to reflect the light patterns.
- Use the shiny side to get the light reflected. Observe the color formation and pattern, and ask the kids to trace the CD onto paper. They will have a circle shape like that of the CD.
- Ask the kids to cut snowflake designs out of the paper circles. Tape the snowflakes on the brighter side of the CD. Reflect the sunlight onto the paper board. Did you observe any change in the light patterns?
Try out the other paper snowflakes as well. The kids will love to see the patterns of light.
Learn How To Make A Tornado In A Jar
Have you ever thought about how a tornado looks? Have your DIY Tornadoes using a jar and items like water, glitter, small beads, a dishwashing liquid, and pots. Here, we will be using a chemical like vinegar. It is recommendable to perform this activity under adult supervision. This experiment is appropriate for preschoolers and kindergarten kids.
What will you need?
- Water
- Glitter
- Dishwashing liquid
- A sealed jar
- Food coloring
- ½ spoon of vinegar
- Small beads
Step-by-Step Guidelines To Make Tornadoes In A Jar
- Have the kids fill ¾th of the jar with water. Add drops of dishwashing liquid and food coloring. Ask the kids to sprinkle glitter and small beads into the water.
- You need to add ½ spoon of vinegar to the mixture. It helps the soapy bubbles to retain their shape and forms a water funnel within the jar.
- Seal the jar tightly and hold it upside down. Slowly spin it in a circular motion to create the funnel: the tornado in a jar. Kids will love to see the beads and glitter will move up and down with the funnel. It makes them mesmerized.
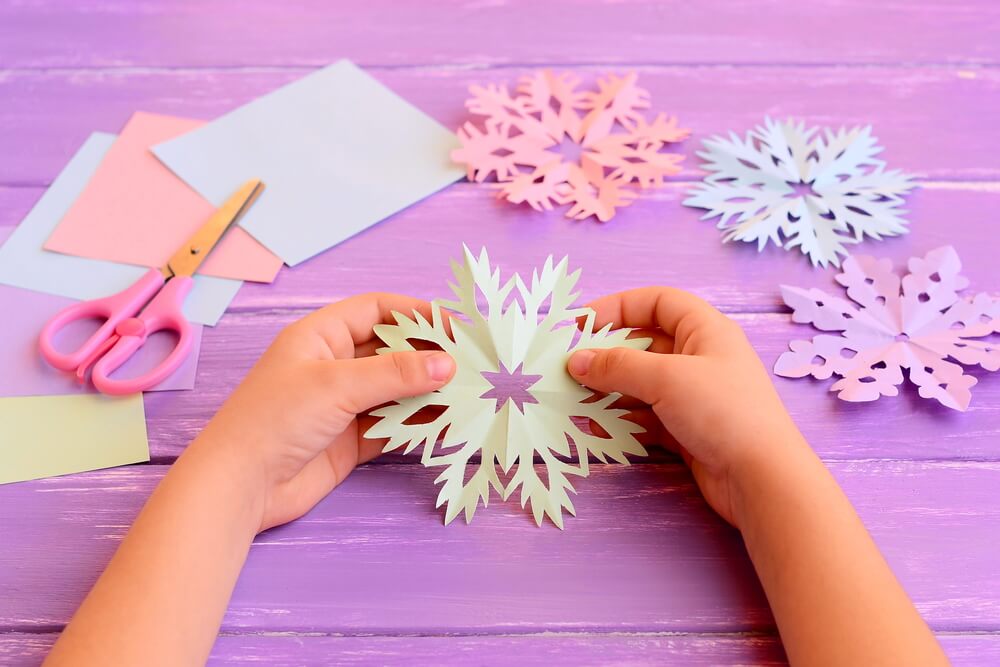
Making DIY Salt Crystals With Paper
This weather science experiment is appropriate for eight to ten years old kids. Preschoolers will also find it interesting, but they need proper guidance.
What will you need?
- White paper
- Pencil
- Scissors (sharp enough to 5-6 layers of paper at a time)
- Lukewarm water
- Edible salt
- Cup & Plate
- Stirrer
Step-by-Step Guidelines To Make DIY Salt Crystals
- Fold one paper corner over the other until lines meet up. Ask the kids to cut off the rectangular strip at the base. You can store these strips to make mini paper snowflakes.
- Fold the square half-diagonally. Then fold half portion of the paper again. You can ask the kids to follow you. By this time, you will have a right-angled triangular shape. It is ¼th of the actual square.
- Fold the triangle into one-third portion each. Get the paper folded with care, as it impacts how symmetrical the paper snowflakes end up forming. You can help the kids to fold the paper.
- Cut the bottom part of the paper off at a sharp angle. The pointier your angle, the sharper the edges of the paper-snowflake will be.
- Cutaway both ends of the paper. You can ask them to draw curves, circles or triangles, and help them cut the paper.
- Have the kids add two to three teaspoons of salt to a cup. Pour a moderate amount of water to dissolve the salt. You can introduce terms like solution or solvent while forming the mixture.
- Ask the kids to place the paper snowflake on the plate. Pour saltwater on top, and get the snowflake covered.
- Keep aside for two to three days until the salt gets crystallized. You’ll find the crystals formed on top of the paper snowflakes.
The Science Behind The Experiment
As you add salt to the water, salt gets dissolved. Hot water molecules move apart, causing salt molecules to dissolve. When the mixture cools down, water molecules move closer again. Salt crystals likely get deposited at the bottom due to gravitation.
What is Climate Change?
Climate Change refers to the process of how the planet gets warmed up. According to scientists, human activities caused Earth to warm up by one-degree celsius. The changes might not sound like much. But in reality, it will affect both humans and wildlife, and the world around us. As temperature increases, the organisms might find that they wouldn’t adapt to the changing weather.
What Are Weather Instruments?
Rain Gauge
A rain gauge is an instrument used to measure the precipitation rate.
Hygrometer
A hygrometer helps to measure the humidity level in the air.
Thermometer
A thermometer measures the air temperature.
Anemometer
An anemometer is used for measuring wind speed.
Summary
Kids love DIY experiments. You don’t have to spend a lot of money, and yet you can spend quality time with your child, where they learn new and exciting stuff.
Simple weather experiments for kids are a combination of arts and science. While they help to develop logical reasoning skills, they also help children in improving their artistic talents.
As a parent of a five-year-old inquisitive boy, I have gained a lot of experience finding fun activities and toys to help him understand science and understanding our world in general. On this blog, you’ll find an extensive amount of tutorials, guides, and toys about Science, Technology, Engineering, and Math based on my personal experience to help your child develop critical STEM skills.