Did you know that salt, sugar, ice, and even diamonds are a type of crystal? Nearly every mineral found in nature exists in the form of crystals.
Contents
Crystals are nothing but atoms coming together in a definite pattern that continuously repeats itself (you can think of atoms like Lego’s.)
While natural crystals are made deep inside the earth, some crystals are lab-created. And did you know you can even make them at your home?
But how are crystals made? I will try to answer this question in the article below.
How Are Crystals Made in Nature?
The process through which crystals form is called ‘crystallization’. When highly saturated liquids cool, they start to harden. This hardening causes their atoms to align with each other in a repetitive pattern. This pattern is what makes up a crystal.

How Are Snowflakes Formed?
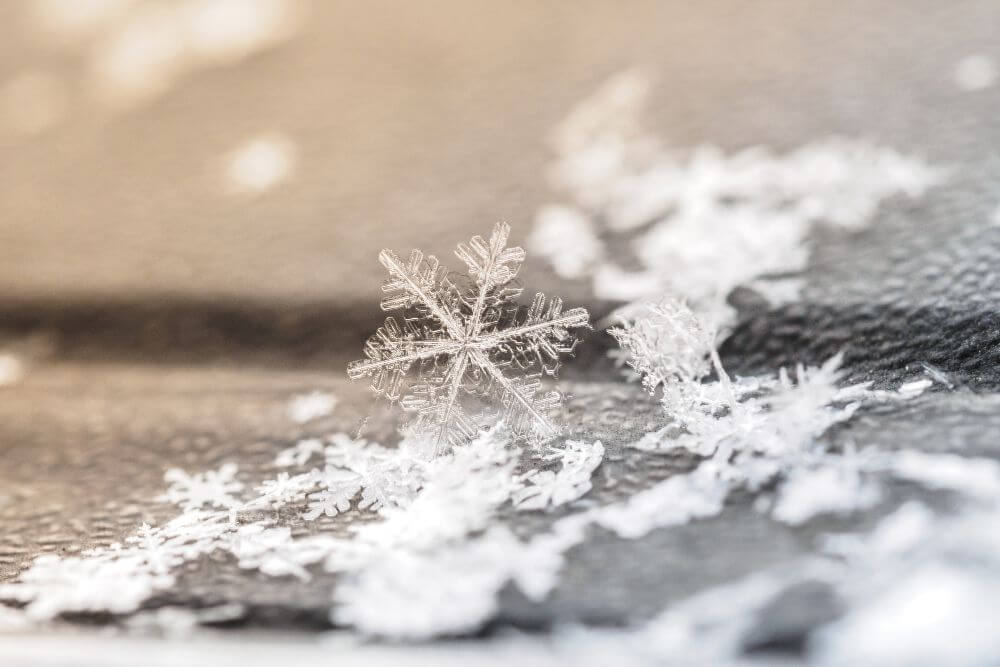
You must have noticed crystals in nature without even knowing it: snowflakes are crystals! What happens is that the atmospheric clouds become too full of water – they have more water than they can hold.
So the extra water leaves the vapor state and solidifies at a very cold temperature when it comes in touch with pollen or a dust particle. This solid ice is in the form of a crystal, and as more and more water freezes on this crystal, newer crystals form, creating the hexagonal snowflakes that we know.
How Are Amethysts Formed?
Sometimes crystals can also form when a liquid evaporates from a mineral and liquid solution. For example, when a concentrated silicon dioxide solution gets caught inside a lava bubble, it starts to cool down, and the water evaporates.
The silicon and oxygen atoms start to couple with each other in a particular pattern, creating a crystal. When there is a bit of iron in this solution, it causes the crystal to take on the signature purple color we all know Amethysts by.
How are Diamonds Formed?
Snowflakes form when water droplets solidify at very cold temperatures. But if we go to the other extreme of temperature and pressure, we can find Diamonds, which are also crystals!
Molten carbon exists inside the earth’s surface.
This carbon is under extreme pressure, imagine the weight of the earth on you! The extreme pressure at high heat causes carbon atoms to lock together very tightly. Each carbon atom in a diamond connects to four other carbon atoms in a very close-knit pattern.
When this carbon structure, organized at high pressure and temperature, starts to cool, it makes diamonds! The higher the pressure, the more tightly packed are the carbon atoms, and therefore the more beautiful are the clarity and color of the diamond.
How is Graphite Formed?
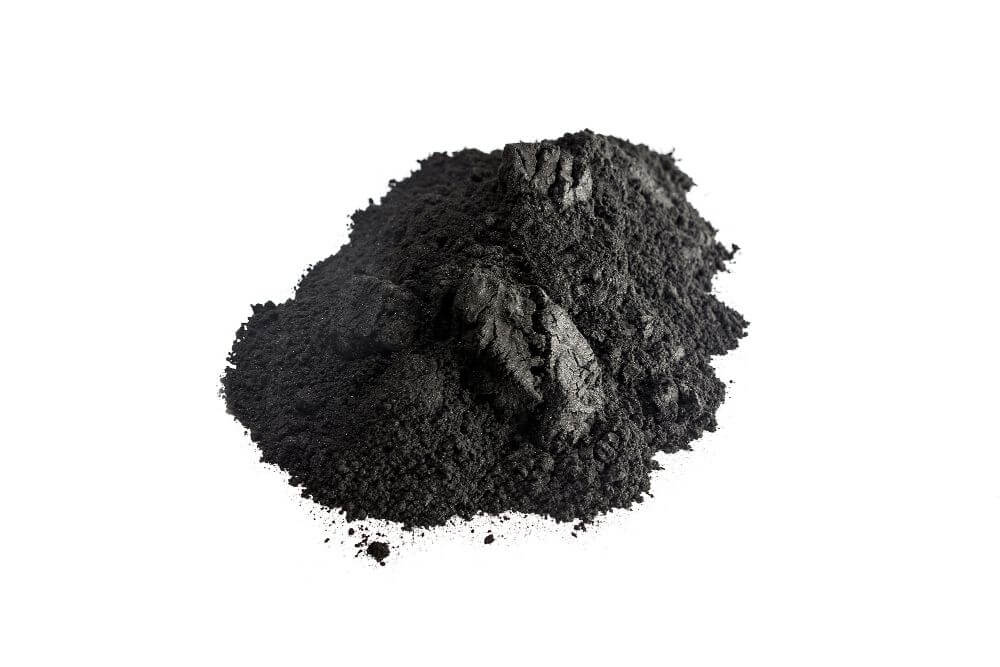
Interestingly enough, a diamond is not the only crystal made from carbon. Graphite is another crystal made completely from carbon, in a similar process (high heat and pressure).
But graphite is the same stuff they put in your pencil lead! And pencil lead is very soft, whereas diamonds are, in fact, the hardest minerals on earth. So, what gives?

The Importance of Crystal Structure
The difference between graphite and diamond is an important example to show why the structure of the crystal matters more than the atoms making up a mineral. The difference between the two is the way carbon atoms come together in each.
In diamonds, the carbon atoms come together in groups of five. They make a hexagon, which gets repeated many times over.
In graphite, the atoms connect to three other carbon atoms each, but they don’t connect in hexagons. Instead, they come together in the form of sheets, one over the other.
The sheet structure is easy to break, which is why graphite is so soft.
How Are Crystal Made at Home?
There are many ways to make a crystal at home, but first, you must understand something known as nucleation.
What Is Nucleation?
Crystals are a bit snobbish. They don’t come out to sign your autographs that easily!
To grow a crystal, you need a starting point or a “seed” crystal. This seed crystal is known as a nucleus, and the process of seeding is called nucleation. I will explain this in more detail below.

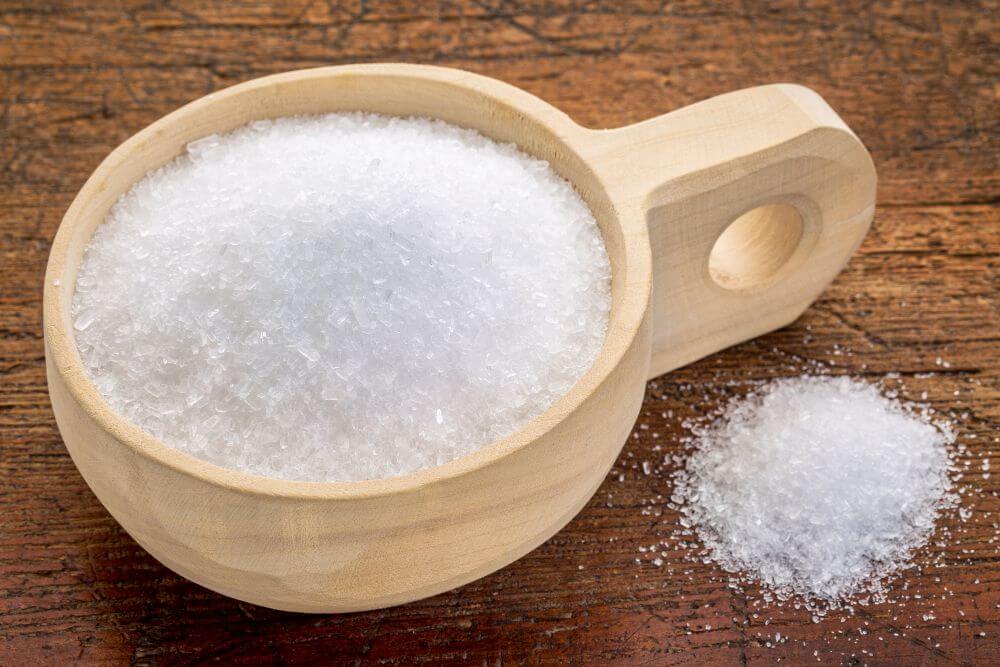
Epsom Salt Crystals
What you will need:
- Epsom salt
- Hot water
- Food coloring
- A beaker (a transparent measuring cup will do)
Steps to Follow:
- Add half a cup of Epsom salt to half a cup of hot water in the beaker, and stir the mixture for about a minute. Keep going until you can’t dissolve the salt anymore, and some of it gets left at the bottom.
- Add some food coloring (we used blue color)
- Put the beaker in the fridge
- In a few hours, you will see a beaker full of beautiful blue crystals!
What Happened?
Epsom salt is the chemical magnesium sulfate. Hot water can dissolve more magnesium sulfate as compared to cold water. When you fill hot water to the brim with magnesium sulfate and then cool it, you make a “supersaturated” liquid.
Because you suddenly cooled the solution, it causes excess magnesium sulfate atoms, which the water can no longer absorb, to come together. These atoms join to form crystals.
Bonus Fun:
The crystals made this way are small and thin. For big, fat crystals, you should follow the process in the next experiment.
Home Made Gems
What you will need:
- Alum (you can get some from the spices and herbs section in your nearby grocers)
- A beaker or jar
- A shallow plate
- Pencil
- Some string
Steps to Follow:
- Just like the previous experiment, heat some water (about a quarter cup) and start adding alum in it, stirring it all the time till it no longer dissolves.
- Now, take some of this solution, use a filter, and put it on a shallow plate. Let it sit overnight.
- You will see some smaller crystals coming out the next day. Let them grow a bit till they are large enough to hold between your fingers. Now clean out the remaining liquid.
- Make another batch of the alum and hot water solution (use more water this time, maybe half a cup).
- Take the biggest crystal from your shallow plate and tie it to a string. Tie the other end to a pencil. This one will be your seed crystal for nucleation.
- Now, balance the pencil on top of the jar/beaker where you have made the solution’s new batch. Suspend your seed crystal in the liquid.
- Now, cover the jar/beaker with a paper towel (to keep out dust). Let the crystal grow till you are happy with how big it is. Take it out, and set it on a plastic sheet to dry off.
What Happened?
By letting the first solution cool down in the plate, some alum atoms started finding and sticking to each other. This leads to small crystals forming.
If you let the small crystals go on, they will start jostling with each other to become bigger. Just like a bucket of crabs pulling each other back, not letting anyone out, none of the crystals would go on to become big.
So instead, you took out the small crystals, removed all of them, and just took one of the bigger ones to “nucleate,” the second batch of liquid. That’s why your chosen one became so big!
Bonus Fun:
The crystal you made can be used as a piece of jewelry if you tie it around a band and wear it.
Wrap Up
Crystals are everywhere. From our quartz watches to our food (salt and sugar) to our jewelry (all precious stones), we can find them everywhere.
There are three main ways that crystals can form naturally – from a molten solution (diamonds), a gas solidifying (snowflakes), or a liquid evaporating (amethyst). But nature takes a long time to make them. You can grow your crystals too, and to speed up the process, you have to understand nucleation.
I hope the experiments and ideas I have shared in this article have helped answer the question: how are crystals made?
As a parent of a five-year-old inquisitive boy, I have gained a lot of experience finding fun activities and toys to help him understand science and understanding our world in general. On this blog, you’ll find an extensive amount of tutorials, guides, and toys about Science, Technology, Engineering, and Math based on my personal experience to help your child develop critical STEM skills.


