One day my son and I were watching a movie, in which it showed an electric bell ringing, and immediately my son asked me, “mom, how does that bell work?”.
Contents
I was delighted to see my son’s curiosity, and it immediately clicked to me: why not discuss and create this thing. After all, at the core of the electric bell is nothing but “an electromagnet.”
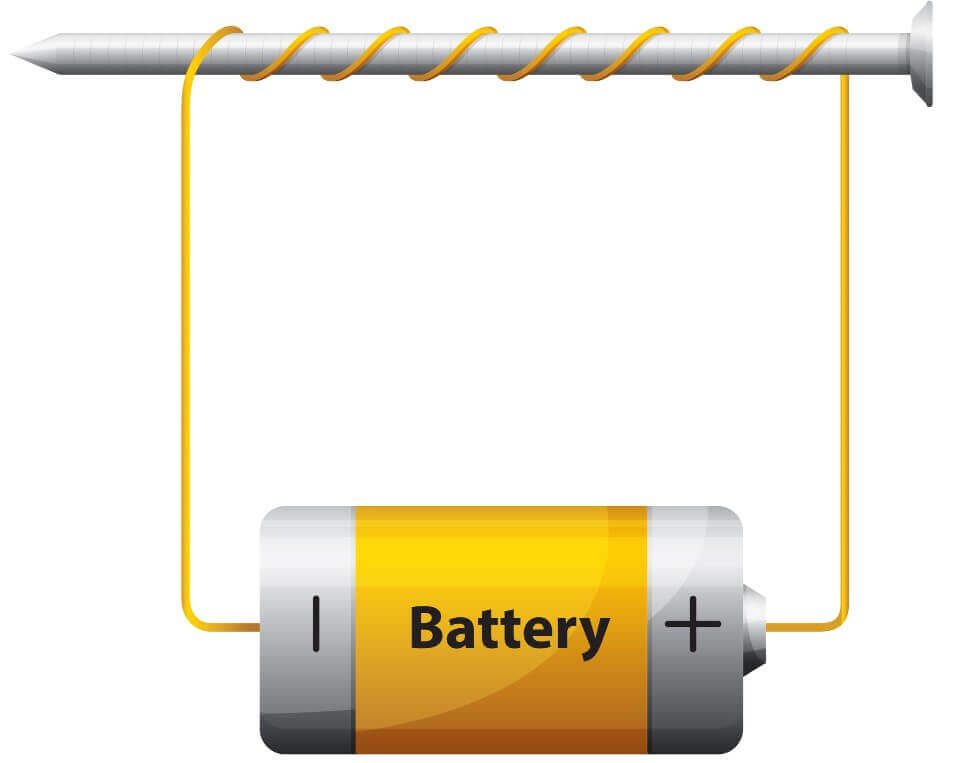
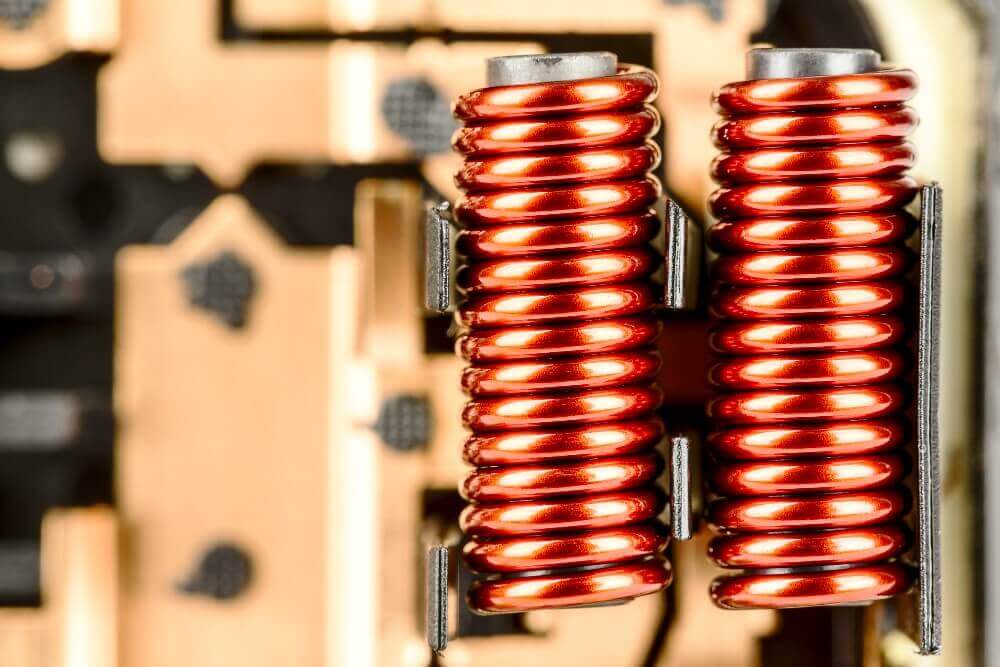
Unlike regular refrigerator magnets, electromagnets are temporary magnets. Electromagnets “happen” when electricity flows through a copper wire wound around a metal core.
These were the basics that I was aware of then. I searched and found out a few good experiments to make my son understand the electromagnetic theory.
Before taking my son for practical activities, I tried to explain to him the concept of electromagnetism. But, the wonder in his eyes when he saw an electromagnet in practice was a sight to behold. Read on if you want to know how I explained: What is an electromagnet for kids.

The Concept Of The Electromagnet
To understand an electromagnet, let us first understand what a magnet is. Now, we all know that if you cut up a magnet, you get two smaller magnets. If you do it again, you will get four magnets and so on.
So, a magnet is just smaller and smaller magnets put together, even at the atomic level. This idea is known as “domain theory,” and these very small magnets are called domains. The potential to create a magnet is available in any object which has these small domains.
What decides whether something will act as a magnet is whether these domains all align in the same direction (whether all the little north poles are pointing in one direction and all the little south poles are pointing in the other direction).
That is why a normal piece of iron may not be magnetic: because the little domains do not align in one direction. But what if there were a way to do so?
When you put such a metal piece between a wire and pass the current through the wire, the current charges’ direction starts aligning the small magnets inside the metal, which makes the object temporarily magnetic. As soon as the current is gone, the little magnets go back to their normal state.
This domain theory is the basic idea behind an electromagnet. British physicist William Sturgeon first created electromagnets in 1825. Today they are used from the humble doorbell to giant motors and generators, and even NASA satellites.
So, below are a few experiments that my son and I tried doing.
Related: Picasso Tiles vs Magnatiles
Activity 1: How To Create An Electromagnet In Your Home?
What You Will Need:
- Long iron nails.
- Metal, for example, pins or metal paper clips.
- Copper wire.
- D-cell battery.
Steps to Follow:
Step 1: Take a copper wire around three feet long and create a spiral around the nail by wrapping it. Make sure to tie it tightly. Leave nearly five to six inches of copper wire at both ends. Then, fold or curl the copper wire from the end to get a good hold of the battery.
Step 2: Then attach the two ends of the battery to the wire ends very carefully. You can attach a rubber band or tape around the battery so that the wire doesn’t come out.
Step 3: It is advisable to wear cotton gloves or wrap a cloth around the hand. The battery may heat up as it creates the electromagnet.
Step 4: Then hold the battery tightly and take the iron nail near to other metallic objects. The nail will start attracting them, just like a magnet!
What Happened?
The iron nail becomes a magnet because the electricity that passes through the copper wire is passed to the iron nail, making it magnetic. Once we remove the battery, the iron nail will still have some magnetic property in it for some time.
Bonus Fun:
Try to experiment with a stronger battery and a thicker wire. You will notice that:
- A stronger battery will make a stronger magnet. The more the current flow, the more the magnetic field will be.
- A thicker wire will make a stronger magnet. The wire thickness and the distance between the two spiral rings also increase the strength of the magnet.

Activity 2: How To Create An Electromagnetic Train?
What You Will Need:
- AA Battery.
- Four or six magnets.
- A rod, slightly wider than your battery.
- Copper coil or wire.
- Wirecutter (in the presence of an adult only).
Steps to Follow:
Step 1: Take the battery and magnets. Divide the magnets equally and put them on either side of the battery. Ensure that you attach the magnet’s negative side to the battery’s positive side.
Step 2: Now, take a large copper coil and wind it around the rod. Make sure to create a loop by joining the two ends when you are doing the winding. This loop will make a tunnel for the train to move. The longer you make the tunnel, the more fun!
Step 3: Then, insert the battery and magnet in the copper wire tunnel you just made, and you will see it moving inside like a train.
What Happened?
There are two concepts at works here:
- When you put magnets at the ends of the battery, it creates a bar magnet with the north pole and south pole.
- When you put this assembly inside the coil/tunnel with the magnets touching the wire, it causes an electrical current through the copper wire.
So now you have a magnet, with a copper wire having electricity in it. Can you guess what will happen? Yes, the copper wire starts acting like a magnet too!
Now, since the charge is flowing in the opposite direction to the magnet’s poles (remember when we put the magnet’s positive pole to the battery’s negative pole?), the wire magnet attracts one end of our battery+magnet assembly while repelling the other.
This force makes the “train” move, and it will keep doing so until the battery runs out!

Conclusion
Electromagnets are fun! Hopefully, this article on how to answer the question What is an electromagnet for kids will have inspired you. Your kids will love making them and seeing the magical things that they can do. If they are interested, you can also ask them to think about how an electromagnet works to create the electricity we get in our houses every day.
I hope these experiments were fun for you and your children. Do leave behind your comments and suggestions!
As a parent of a five-year-old inquisitive boy, I have gained a lot of experience finding fun activities and toys to help him understand science and understanding our world in general. On this blog, you’ll find an extensive amount of tutorials, guides, and toys about Science, Technology, Engineering, and Math based on my personal experience to help your child develop critical STEM skills.


