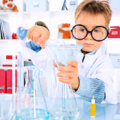
They say, “Kids are like clay”! You can mold your kids at a tender age into a better version of themselves for the future.
Contents
It is not always about teaching good values, those they will get with experience and time. What is important is to respond to their queries with patience, encourage them to learn by questioning and to do, and build up a scientific temper in them.
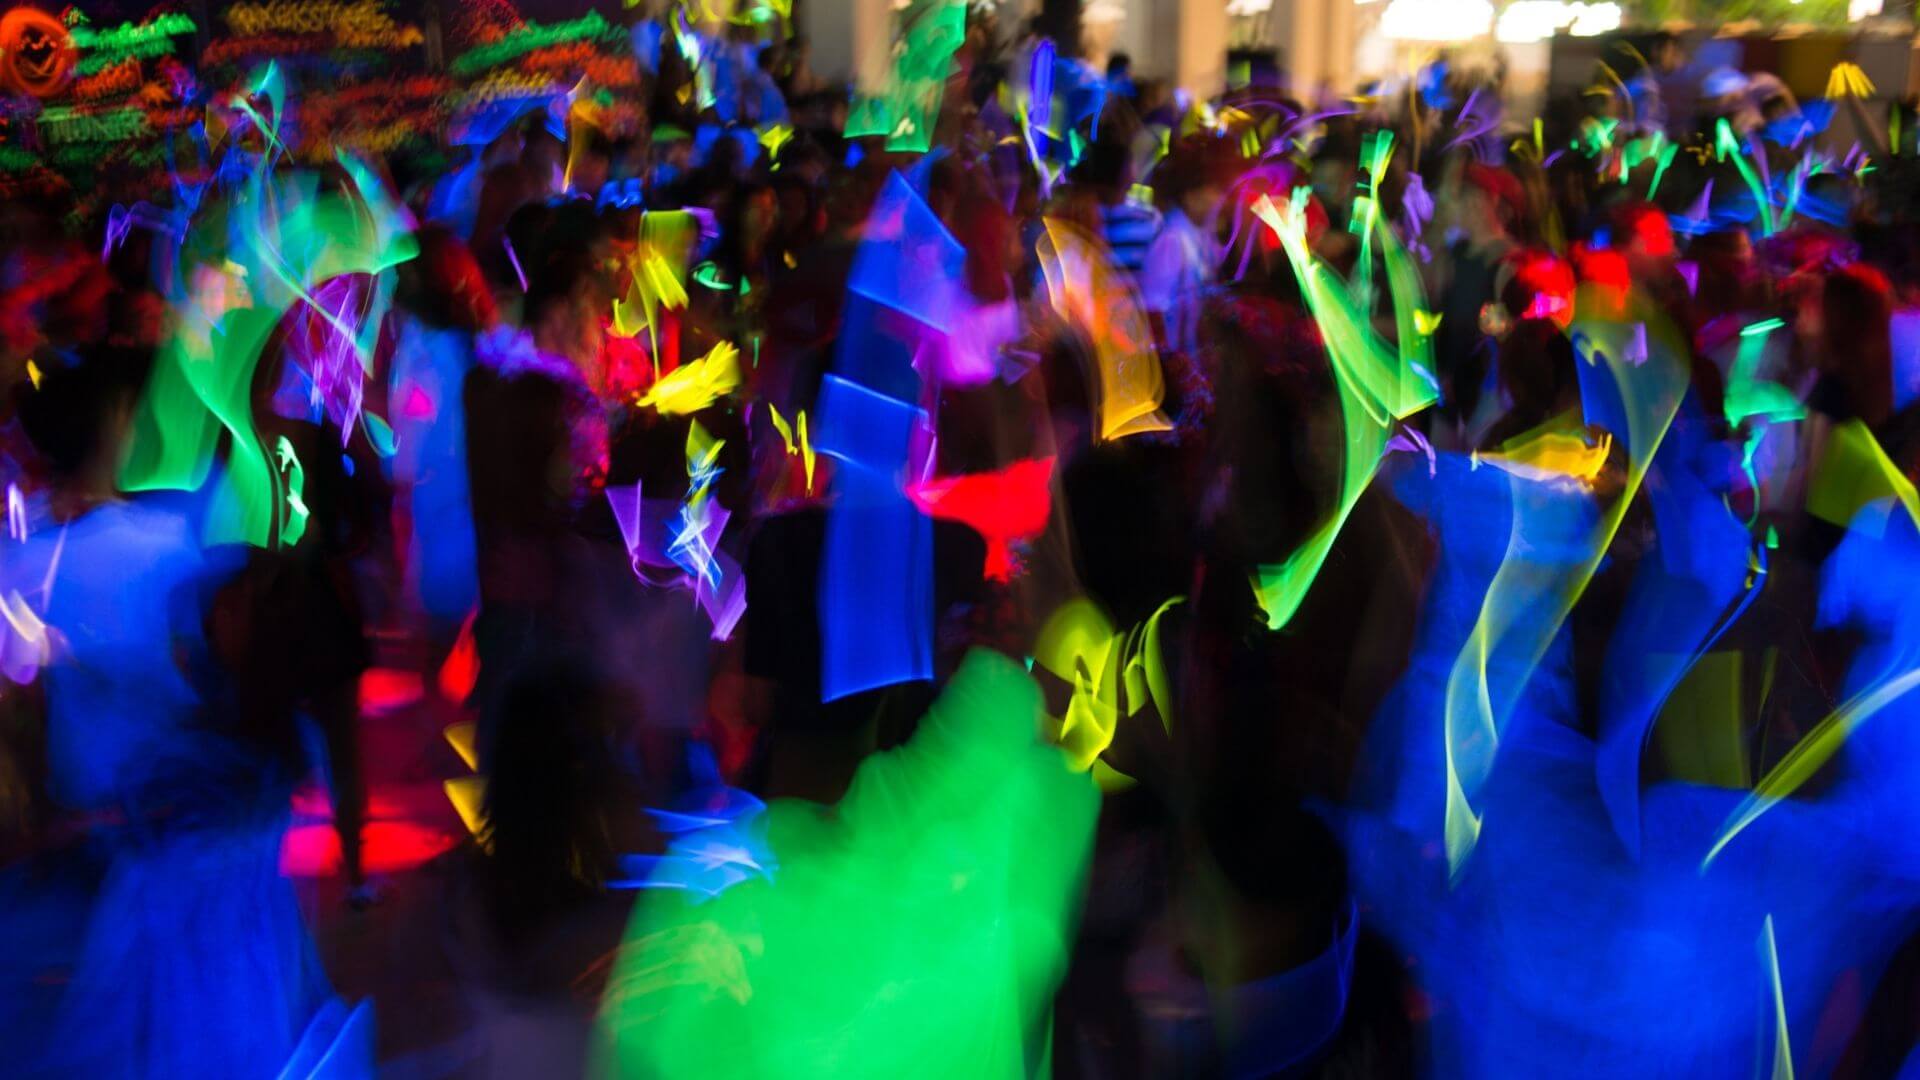
Children of all ages are fascinated with things that glow. A beautifully painted roof glowing with stars and planets in the dark makes them want to understand the phenomenon behind it.
Well, you can always answer their questions with some drab scientific facts or tell them to go look it up on the internet.
But a much more creative, fun, and instructive way, is to show them how to do it on their own. This way they will learn a fun fact, which they will remember for life!
To help you do this, we have created a list of easy DIY activities that will help you answer the question: How to make something glow in the dark.
Glowing Oil And Ice Experiment
This is one of the most effortless glow-in-the-dark experiments. It will get your kids excited and keep them engaged as well! If your kids are older than ten years, you can give them a quick understanding of the science behind the experiment as well.
What You Will Need
You need to have some baby oil or vegetable oil, an ice cube tray, water, and fluorescent or glow-in-the-dark paint. Note that baby oil is not safe if ingested, even though it will make the experiment much better because it is clearer than vegetable oil.
Step-By-Step Guidelines
- Add some fluorescent paint to an ice cube tray base and fill the tray with hot water. Mix it well and put it in the freezer for 4-6 hours. This will get you some pretty looking glow-in-the-dark ice.
- Fill a small tray or pan with some oil. Baby oil is clear, but you need to be vigilant so that your kids do not put it in their mouths. You can use any vegetable oil as an alternative.
- Put the glow ice cubes in the pan.
- As the ice will begin to melt, the water will bead up in the oil.
- This is where the fun starts! When you swirl around the water in the oil, neat shapes will begin to form. Your kids will have a lot of fun with the glowing shapes they can make on this canvas of water and oil.
- If your kids are old enough to understand the science, you can explain it to them, starting with the concept that water and oil do not mix.
Neon Glitter And Paint Black Light Art
If your first thought when we say DIY (Do It Yourself) experiments are ‘fun but too much work’, then this activity will be perfect for you!
The stuff required is most likely going to be there in your home, or you can quickly get all of it from your nearby craft supplies store.
What You Will Need
All you need is fluorescent or glow-in-the-dark paint, a black chart sheet, paintbrushes, and some stickers and neon glitter (optional).
Step-By-Step Guidelines
- Tape your black chart paper on the ground.
- Place all your materials on a black construction sheet.
- Turn off your lights.
- Start painting!
- You can scatter the paint in different patterns and spread the neon glitter for a spooky effect.
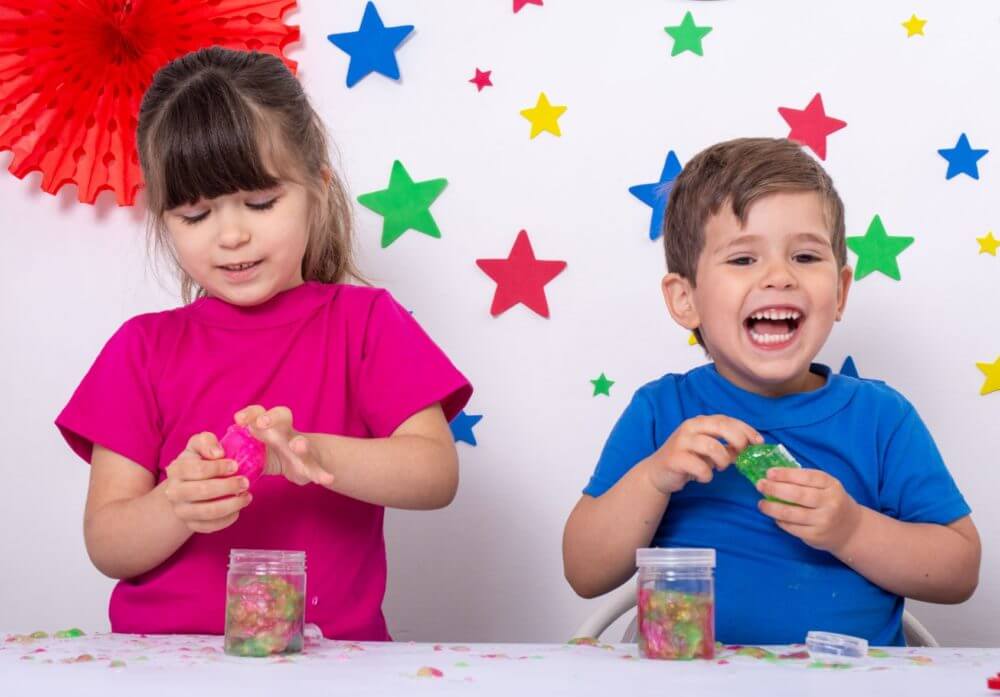
Glow-In-The-Dark Bouncy Balls
Kids have always enjoyed playing with balls, whether in light or in the dark. This glow-in-the-dark bouncy ball experiment is super fun, and they will have something new to play with when bored.
The activity has the right balance of science and art, guaranteed to fascinate kids of all age groups.
What You Will Need
You will need white glue, borax, corn starch, water, neon paint, a blacklight, and some bowls for mixing. Apart from the beautiful result, the process of mixing is fun in itself.
Step-By-Step-Guidelines
- Combine 1/2 tablespoon of borax, 4 tablespoons of corn starch, and 4 tablespoons of warm water in a small bowl until all the ingredients dissolve completely.
- Combine 1 tablespoon white glue and 1 tablespoon of glowing paint in a separate bowl.
- Mix well so that the glue blends with the paint.
- Combine the ingredients in the two bowls.
- Give it some time to blend and react by itself. After a few minutes, start mixing gently.
- You will obtain a sticky and slimy material.
- Take this mixture or material and mix it with your hands like you knead the dough of flour.
- With time, it will become dry and less sticky.
- Roll this hardened slime to form a palm-sized ball.
- For a more captivating outcome, you can use paints of different colors and get a multi-colored ball.
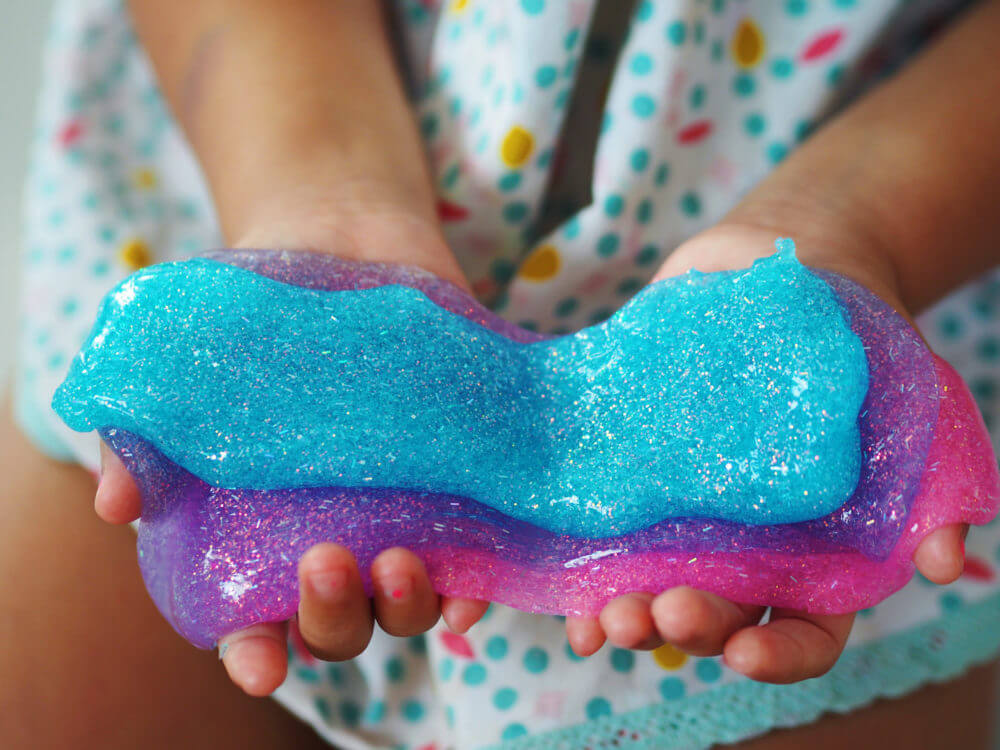
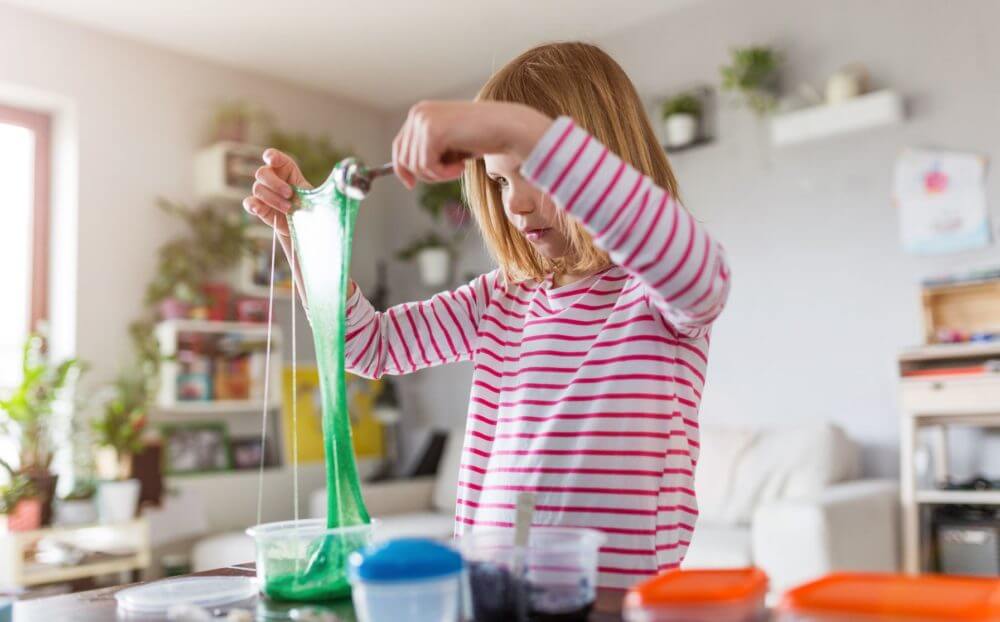
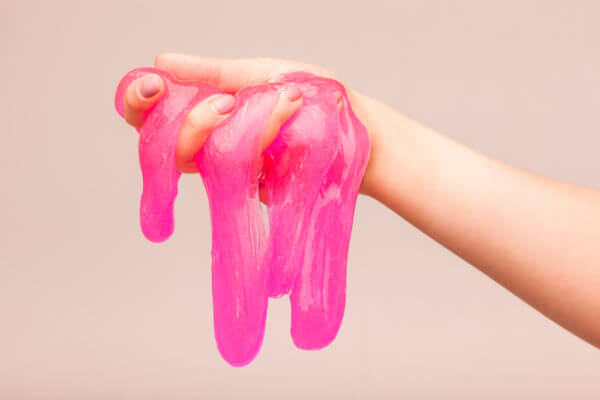
Glow-In-The-Dark Slime
Slime is trending! Kids love this stuff. It is available as a readymade product in stores and can also be custom made with little or no effort.
DIYs can make anything possible, so why not a glow-in-the-dark slime? This is an easy-to-do and fun activity that will keep your kids engaged for hours and make them learn something new.
What You Will Need
All you need is a few white glue bottles, 3 to 4 tablespoons glow-in-the-dark paint, water, Neon food coloring, 1 tablespoon borax, and about ½ cup warm water.
Step-By-Step-Guidelines
- Pour the glue into the bowl.
- Fill the bottles with warm water and shake them well.
- Pour the watery glue mixture, which will be obtained upon shaking it, into the bowl.
- Add the neon food coloring to the glue.
- Gently stir the glow in the dark paint into the glue mixture.
- Take another bowl and mix 1 tablespoon of borax with warm water.
- Now make the final mixture by mixing the borax in glue mix. This may seem messy at first, but don’t be afraid of using your hands while mixing. Getting the right consistency is very important to make a good slime.
When viewed in a dark room or under black light, this slime can be a fun way to spend an evening with your kids!
Neon Glowing Rice
You should introduce your kids to different textures and materials to differentiate the touch and feel, enhancing their ability to identify things quickly.
Adults like the fact that the little grains can glow and can look like a beautiful rainbow. This activity is one of the easiest glow-in-the-dark hacks.
What You Will Need
You need to put just a little effort into collecting stuff like rice, Neon paint, wax paper, few zip lock bags, and some water.
Step-By-Step-Guidelines
- Divide the rice into some zip lock bags in substantial quantity.
- Add a tablespoon of neon paint and a tablespoon of water to the zip lock bags with rice and mash the mixture gently.
- Use different colors for different bags.
- Place all of this in wax paper and let it dry for a few hours.
- Break the lumps which might have formed due to mashing.
Turn off the lights and have the ultimate fun with the neon glowing rice!
Glowing Water Beads
Water beads are nothing but marbles filled with water. They are squishy and bouncy and kids love them. Water beads are used for keeping plants and flowers hydrated.
But with a little imagination, we can make them into excellent glow-in-the-dark beads!
What You Will Need
To make glowing water beads, all you need is a few water beads, neon paint, a sensory bin, or any other similar container, a couple of bowls, and some warm water.
Step-By-Step-Guidelines
- Squirt a dollop of paint into a bowl. Use separate bowls for different colors that you wish to use.
- Add some warm water to all the bowls and keep stirring until the paint gets mixed well and attains some consistency. Now you have some glowing water bowls.
- To make glowing water beads, add some clear water beads to the bowls containing the paint mixture.
- Let the beads rest in fluorescent water, and they will begin expanding as they soak water.
- In about 4-6 hours, all the beads will have expanded into large enough balls.
- Put all of these beads into a sensory bin or container and let the fun begin!
While this experiment does not involve much science, it is a sure way to get your kids engaged and keep them happy and occupied.
Summary
DIY activities are a parent’s best friend. You don’t need to spend a ton, and you can get an afternoon of fun with the kids and a science lesson for life that they will remember forever.
Glow-in-the-dark activities are a combination of crafts and science. While they help enhance your child’s knowledge and inculcate a scientific temper, they are also great for improving your kids’ haptic senses and craft skills.
As a parent of a five-year-old inquisitive boy, I have gained a lot of experience finding fun activities and toys to help him understand science and understanding our world in general. On this blog, you’ll find an extensive amount of tutorials, guides, and toys about Science, Technology, Engineering, and Math based on my personal experience to help your child develop critical STEM skills.