Did you know that you can actually make decorations and harden sculptured items from and in playdough?
Contents
Most of the time playdough is left soft and the kids play with it until it dries out or turns gray from too much mixing.
To find out that it is more than just a play substance, and that you can actually make your own at home, is an awe-inspiring realization.
If you want to know how to bake playdough into hardened forms, and how to make your own playdough at home, we can help!
The baking instructions are rather simple, and the making instructions include variations to try. Based on your children’s own curiosity and interest in this substance.
When your kids are ready to experiment, just follow the instructions below.
How to Bake Playdough From the Store
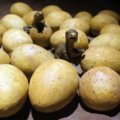
To bake playdough from the store, first, have the children make creations they want to keep indefinitely.
Perhaps you can encourage them to make Christmas tree ornaments with cookie cutters and even jewelry pendants or beads with the playdough.
Use a straw to create holes for the string after the items are baked.
Then this is how to bake playdough:
- Set items on a non-stick baking sheet or use non-stick foil to line a cookie sheet.
- Turn the oven on to warm it to 300 degrees. Wait to put the items in the oven until the oven is definitely 300 degrees, or you will get weird, half-melted, half-cracked objects.
- Place the baking sheet of playdough items in the center of the oven; center of the rack and center rack in the oven.
- Bake for five to ten minutes. Don’t attempt to bake for longer as it will cause the playdough to crack and crumble. You can burn it, but that’s much harder to do.
- Remove the pan from the oven and cool thoroughly at room temperature. Do not attempt to flash-chill these items in a refrigerator or freezer!
- Do not get your baked playdough items wet unless you seal them with an acrylic sealant after they have cooled and after the sealant has dried. The moisture has been baked out of the “dough” but that doesn’t mean it can’t reabsorb moisture if left sitting in liquid again.
For fun, discuss with your kids how and why the dough turns hard. If you want to soften it again, let it sit in the water completely covered for at least a few days.
Then roll it out and play with it until excess water has been released. The different chemical reactions can be used to teach kids about the science of changing substances.
Making Your Own Playdough
This is a non-cook recipe and a process that many daycares and early childhood teachers have done for decades now.
It follows the old salt dough recipe used by Europeans to make non-edible ornaments and statues. Simply let the ornaments dry by air.
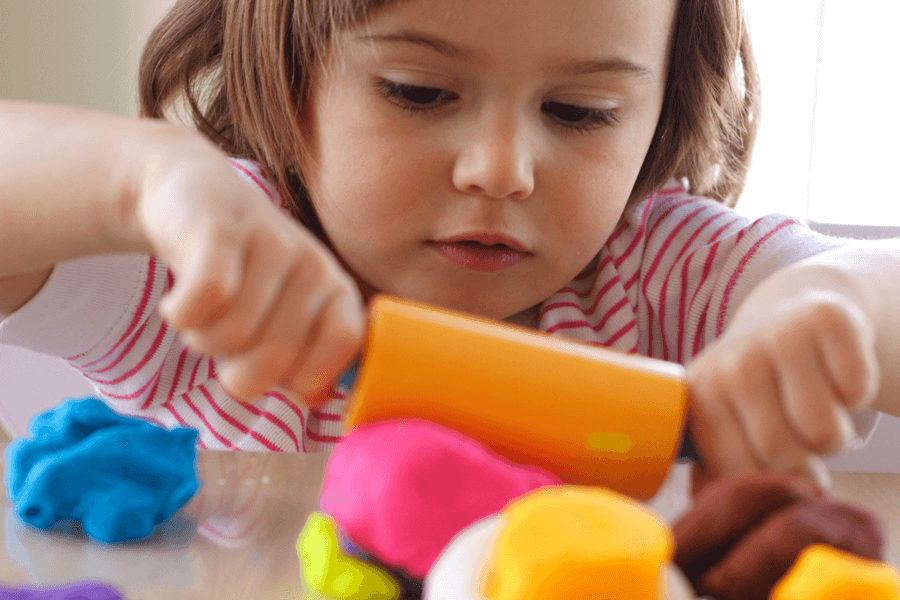
It is fairly simple to make, but you will need some ingredients and patience to do it. If you get the kids involved, they can help create their own balls of dough.
Ingredients:
To make a small amount of dough, you will need:
- 8 TBSP of bleached (white) flour
- 1 TBSP of vegetable oil or canola oil (not olive oil!)
- 2 TBSP of table salt
- 3 TBSP of water
(A lot of recipes call for 60ml, which is just slightly more than a quarter cup. 3 TBSP also comes very close.)
Mix, roll out, and knead the dough
This is a non-cook recipe. After you mix all of these ingredients together, roll out and knead the dough on a hard surface.
Once it is the desired consistency, you can add food coloring to create a colored dough. This is very messy, but you can have the kids help by placing dough and food coloring in a zip-lock bag, sealing it, and letting the kids mush the dough around inside the bag until most of the food coloring is absorbed.
After this, simply create the ornaments and let them dry by air.
Variation:
Scented dough adds an extra layer of sensory experience.
To make scented dough, use a few drops of clear food flavorings found in baking aisles at the grocery store. You can make orange, mint, lemon, strawberry, anise, almond, etc., and the kids love smelling the dough as much as they love playing with it.
The all-natural flavorings also make the dough non-toxic, in case one of your children attempts to taste it. After this, simply create the ornaments and let them dry by air.
Storing and Reviving Playdough
Storing playdough requires putting it in an airtight container of some kind. You can do this with either food storage containers or with zippered bags.
If you use bags, make sure the bags don’t have any visible holes in them, or your dough will slowly dry out. Keep the dough in a cool, dry place to avoid it molding or drying out.
Dough that is exposed to humidity or moisture and left to sit will grow moldy. Dough that is exposed to air will dry out.
While moldy dough should be thrown away, you can still revive dried up dough. A little water can restore it.
If it is really hard, it may need to sit and soak in water for a day or two. Then roll it out and knead it until it is soft again. Store in a new container.
If it soaks up too much water, squish it out or bake it for just a couple of minutes, and only a couple of minutes.
As with everything mentioned above, you can involve the children and ask them questions about what they think will happen. Then create and write down these “hypotheses” on paper.
Experiment as planned, and find out who guessed correctly. Learning from this common plaything goes much farther if you know what to do with it!
As a parent of a five-year-old inquisitive boy, I have gained a lot of experience finding fun activities and toys to help him understand science and understanding our world in general. On this blog, you’ll find an extensive amount of tutorials, guides, and toys about Science, Technology, Engineering, and Math based on my personal experience to help your child develop critical STEM skills.