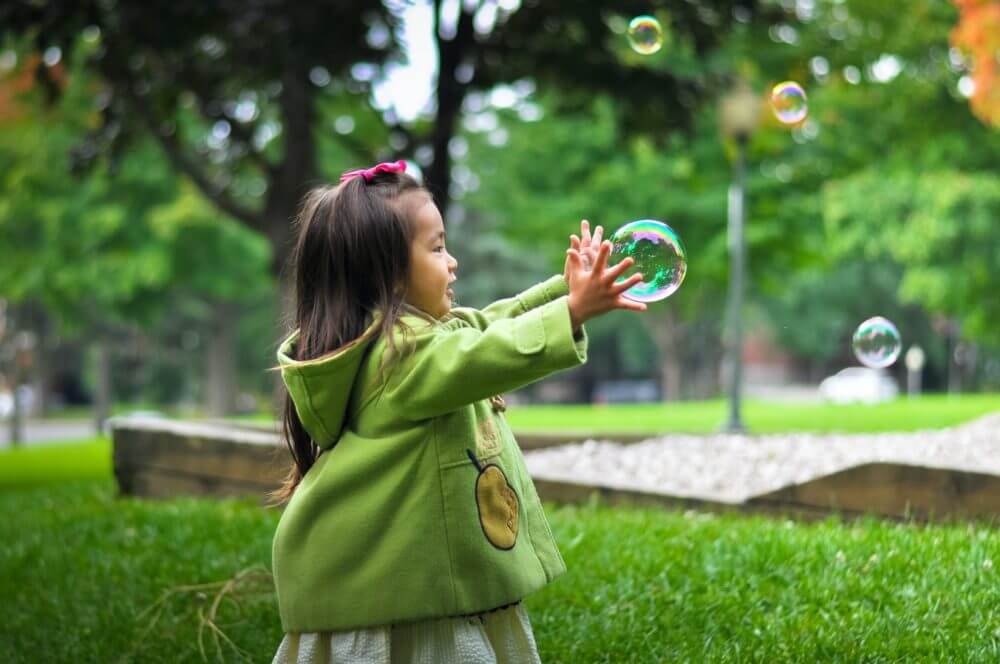
What is so fascinating about soap bubbles? They evoke happy memories of our childhood, blowing and chasing these glowing orbs with our friends. Kids love watching bubbles while they soar through the sky.
Contents
But did you know that you can give beautiful colors to these bubbles? Won’t that be a fun activity to do with your kids?
To help you do this, I have created a list of small DIY experiments on how to color bubbles. You can even use these methods to make beautiful bubble art. But before starting with the activities, let’s learn a few things about bubbles.

Why Are Water Bubbles Colorful?
Light is composed of all the colors of a rainbow. You can think of light like 7 waves in the ocean, traveling together. Normally, you don’t get to see them separately, because they are all in the same space together.
However, when light passes through anything other than air (such as water or a film of soap), each of these 7 waves move at different speeds. This process is called refraction, which is different from reflection.
A bubble has three such layers – a soap layer, then water, and then another soap layer.
These layers create a separation of the waves, so ideally you should see all 7 colors from a bubble, just like a prism. Right?
However, a bubble is far more complex than a prism. It’s round in shape and it also has a reflective surface, which means that these waves get reflected back on to each other.
When two waves get together in the same space, it is known as ‘interference’. They form a new color altogether. Just like 7 waves together form the color white.
That is why in a bubble, you don’t see a rainbow. Instead, you see whatever left-over waves interfere with each other to form new colors.
Why Does The Color Of The Bubbles Change?
The waves travel different distances before they meet up again, depending on how thick the film of soap is. When the liquid bubble’s soap film changes in thickness, the color changes. That is why a puff of wind can cause the bubble to change its colors.
If the film of soap is very thin, it will cause all the waves to cancel themselves out, leaving only black color. That is why a soap bubble is black when it’s about to burst because the soap film is at its thinnest then.
Now that you understand the principle behind the colors, let’s get to the real fun: the experiments on how to color bubbles!
Experiment 1: Colored Soap Bubbles On Paper
This is a very simple experiment that produces beautiful results.
What You Will Need
- A bubble blower.
- Bubble solution. You can either buy the solution from the shop or use a home-made bubble solution.
- Bowls filled with different food colors.
Step-By-Step-Guidelines
- Dip the straw in the solution.
- Inhale and exhale air.
- As the bubbles come in contact with the bowl filled with food coloring, they get colored.
- As you place the bubbles over a plain white sheet, they will create an impression.
You can use multiple bands of colors to make a colorful design.
Experiment 2: Bubble Coloring Art With Straws and Cardstock Paper
This is a simple but exciting, fun activity, which will be a hit among the kids. It doesn’t involve the use of chemicals and requires some very basic household ingredients.
What You Will Need
- 1 teaspoon of soap.
- 3 teaspoons water.
- Water soluble food coloring (10 drops).
- Cardstock paper (you can utilize computer or construction paper, yet they crumble more when wet).
- Straws.
Step-By-Step-Guidelines
- Properly mix the water and soap with the food coloring. Blow into the solution until bubbles get formed. You can ask the kids to follow you. Please see that they don’t drink the soapy solution.
- Lay your cardstock over the air bubbles. As the bubbles start popping, they will leave an imprint on the paper.
- Repeat the process until your page gets colored. The kids will love to see bubbles getting popped up and getting imprinted on paper.
What Do You Get?
You will get a colorful piece-of-art. Use it as a coloring experiment, and you can make colorful batches. You can ask the kids to blend in multiple colors (of their choice) to form a new pattern.
Experiment 3: Colored Bubble Art With Corn Syrup
This is an easy and safe, fun activity. You can take the kids outside or conduct it indoors after covering your floor and table with heaps of old newspaper. Put on an old T-shirt or smock so that the clothes don’t get stained. Follow these simple steps to make an amazing piece of art.
What You Will Need
- 1 cup of water.
- ½ cup or 120 millimeters of store-bought soap.
- 3 teaspoons of white corn syrup.
- 1 to 3 drops of food coloring.
- 4 to 6 straws.
- A bubble blower.
Step-By-Step-Guidelines
- Make a bubble solution using water, soap, white corn syrup, and keep it in a wide and shallow bowl. You can also use a store-bought bubble solution. The corn syrup ensures that the bubbles retain their shapes.
- Stick the straws together to form a bubble blower. Alternatively, you can cut 2 to 3 straws down the middle and tape those together. The bubble blower will be shorter, but more effective. You can ask the kids to help you.
- Insert the bubble blower into the bowl and breathe out. You take a deep breath, then put your mouth over the straws and blow the bubbles.
- Continue breathing in and breathing out untill the bubbles fill the bowl and begin to ascend over the edge. The kids will love to see the bubbles soar high up in the sky.
- Place the paper over the water bubbles. Lower the bubble blower so that the bubbles can contact the paper and stick. Don’t crush the water bubbles; otherwise, you won’t get the impact you need.
- Tip: You can use any type of paper. Thick paper will work better, for instance, cardstock or watercolor paper.
- Lift the paper away before flipping it over. When a bubble touches the paper, lift the paper. Turn the paper over to uncover your beautiful craftsmanship. You can repeat the process with different colors if you want.
Experiment 4: Making Colored Bubbles Using A Bottle And A Sock
It is more like a fun activity than an experiment. It might get the floor stained with colors. So you can experiment outside or cover the floors with paper. Keep your clothes stain-free by getting into an old smock or T-shirt.
What You Will Need
- A water bottle.
- A sock.
- An elastic band.
- Food coloring.
- Bubble solution.
Step-By-Step-Guidelines
- Cut a water bottle down the middle with a blade. Take the top portion alongside the bottle cap. If the bottle has grooves on it, you can use those as a cutting aid. This particular step requires adult supervision.
- Place a sock over the cut-end of the bottle and cover it with an elastic band. You can ask the kids to follow you. If you don’t have an elastic band, you can get a pipe cleaner twisted around the sock and bottle.
- Add 1 to 2 drops of food coloring to the drum part of the sock. You can use drops of the same food coloring, or you can use multiple shades. You can ask kids to choose the colors of their preference.
- Get the sock-covered bottle end dipped into a bowl of plain bubble solution. You can use a home-made bubble solution or use a shop-bought solution. Ensure that the bubble solution is clear and plain.
- So you have already added food coloring to the sock. Remove the bottle cap and then blow into it to create a long bubble. Firstly, breathe in and breathe out into the bubble blower. When you blow, a bubble ‘snake’ will emerge out of the sock end of the blower.
- Drape your snake onto a piece of paper. You can use any paper for this, yet cardstock or watercolor paper will work the best.
- Blow the bubble snake off, then get your bubble art dried. You can likewise leave the snake on the paper until the bubbles pop or get evaporated on their own.
Final Thoughts
Understanding the colors of bubbles is a fun way to explain some very important concepts of physics, such as waves, interference, optics, reflection, and refraction.
I found that after doing some of these experiments, my kids started seeing colors in a lot of other things. They started to understand the world of colors a lot better, and it piqued their interest in learning more.
I hope these fun experiments will be a hit in your home too! Do share your feedback in the comments section.
As a parent of a five-year-old inquisitive boy, I have gained a lot of experience finding fun activities and toys to help him understand science and understanding our world in general. On this blog, you’ll find an extensive amount of tutorials, guides, and toys about Science, Technology, Engineering, and Math based on my personal experience to help your child develop critical STEM skills.