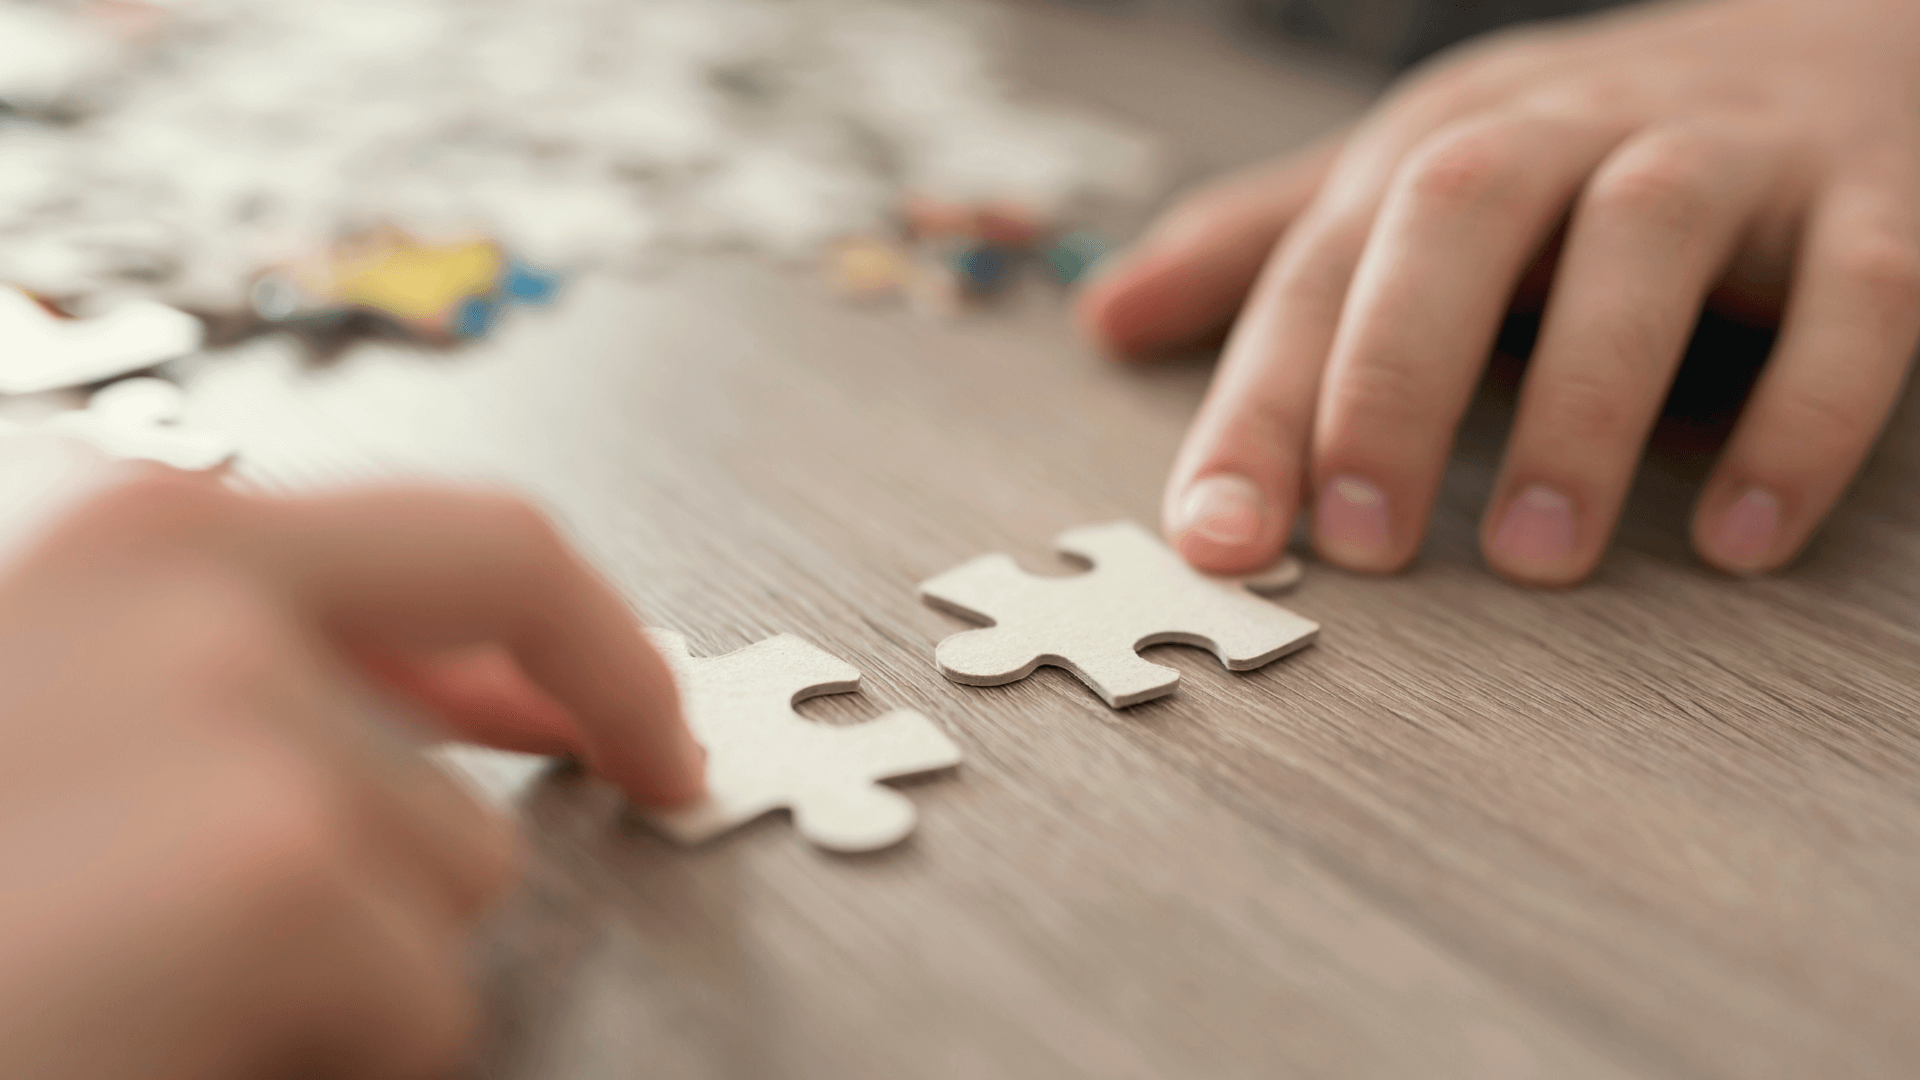
Jigsaw puzzles are seeing a resurgence in popularity. It’s little wonder as they are an excellent way to pass the time and are often even used for decoration after completion. They are a great way to spend an afternoon at home with your kids and make excellent gifts in the meantime. This is especially true if you make your own jigsaw puzzle with images that have special meaning.
Contents
Read on to learn about the benefits of puzzling as well as how to make a jigsaw puzzle yourself.
The Benefits Of Puzzling
A recent study published in the Archives of Neurology found that puzzling wards off Alzheimer’s by stimulating the brain and warding off the plaque that is the disease’s hallmark. Other studies have shown that people who do crossword and jigsaw puzzles have less chance of developing memory loss and dementia as well.
Puzzling has a variety of benefits for the puzzler’s brain and life. These include:
- Exercising both sides of the brain at the same time
- Improving your short-term memory
- Increasing your visual-spatial reasoning ability
- Being excellent tools for relieving stress
- Providing an opportunity to connect with your kids and other family members
How To Make A Jigsaw Puzzle In 8 Easy Steps
There are several fancy technological tools out there that can be used to make jigsaw puzzles but they’re not necessary. Jigsaw puzzle making is easy if you follow the 8 simple steps below.
Step 1: Choose Your Image Or Design
The options are endless when choosing from what design or image to make a puzzle. You can use pictures of loved ones, something you’ve drawn yourself, or even your favorite poster if you’d like. Make sure they are of a good resolution and are on quality paper for the best results.
Step 2: Select The Backing
There are two primary options for puzzle backing: wood or cardboard. Wooden jigsaw puzzles are more durable than their cardboard counterparts but are also more difficult to make. They also require special tools and skills.
Choose a piece that is slightly larger than your image and is an ideal thickness for puzzling. For wooden backing that is generally considered to be an inch while it’s one-eighth inch for cardboard.
Step 3: Gather The Tools You Need
The basic tools you’ll need for making your jigsaw puzzle are a pencil, a ruler, spray lacquer, glue, and something to cut the pieces out. For cardboard backing, that’s ideally a hobby knife but scissors will work if that’s all you have.
Wood backed puzzles will require a saw and some skill in using it. Coping saws are small hand-powered saws that are ideal for intricate shapes. Scroll saws are operated by a foot pedal or electricity and handle intricate curves well. One of those is needed for cutting out puzzle pieces.
The glue and lacquer you use are also important. The best option is spray glue or liquid craft glue as these will not damage pictures. For lacquers, make sure to find one that’s photo safe.
Step 4: Attach Your Image To The Backing
Now that you have everything you need in one spot, it’s time to put it all together. Put down a sheet of parchment or wax paper to protect the surface under your puzzle.
Place the backing on top of the protective layer with the best side of it facing down. Evenly cover the surface of your backing and place the image down onto it. Carefully slide it around until it is as straight and centered as possible on the backing.
Using a ruler, gently apply even pressure and slide any air bubbles out from bottom to top. This will also help the glue to adhere better.
Now all that’s left of this step is to wait for the glue to dry completely. Each glue has its own standard drying time so make sure you know what the one you used is. And then add an hour to that. When in doubt, let your puzzle dry for several hours to ensure proper adhesion.
Step 5: Lacquer The Image
Once the glue is dry, you can lacquer the image to protect it for years to come. This lacquer will create a barrier for your pieces so they’re less likely to be damaged by spillage or age.
Take your puzzle outside or into a room with good ventilation. Place the puzzle, image side up on another piece of protective paper and spray an even coat of lacquer on it. Start at one end and go from left to right in strips to help ensure even coverage.
Step 6: Trim The Border To Fit
After the lacquer has dried, you can trim away any excess backing. Now you’re ready to turn the mounted and lacquered image into puzzle pieces.
Step 7: Create A Puzzle Template
Turn your puzzle in progress face down so you can add the template for the pieces to the back. The easiest way to get an outline for your pieces is to print one out from the plethora of sources on the web and glue it to the back of your puzzle.
If you would like a more personal approach, you can hand draw the outline right onto the backing with a pencil. This allows you to erase any lines left over after cutting for cleaner pieces.
First, draw a grid. The squares should be three-quarters of an inch if you want a larger number of small pieces and one inch each if you are going for larger pieces.
Next, add ball and socket shapes along the edges of the grid squares to make the pieces that interlock. These can be the standard stemmed circles or any other shape like squares, triangles or nearly anything else that will fit together.
Step 8: Cut Out The Puzzle Pieces
All that’s left is to cut out the piece of your puzzle. Carefully follow the outline paying special attention to the connecting shapes along the edges. For wooden backed puzzles, you may want to smooth the cut edges gently with low grain sandpaper to prevent splinters.
As a parent of a five-year-old inquisitive boy, I have gained a lot of experience finding fun activities and toys to help him understand science and understanding our world in general. On this blog, you’ll find an extensive amount of tutorials, guides, and toys about Science, Technology, Engineering, and Math based on my personal experience to help your child develop critical STEM skills.