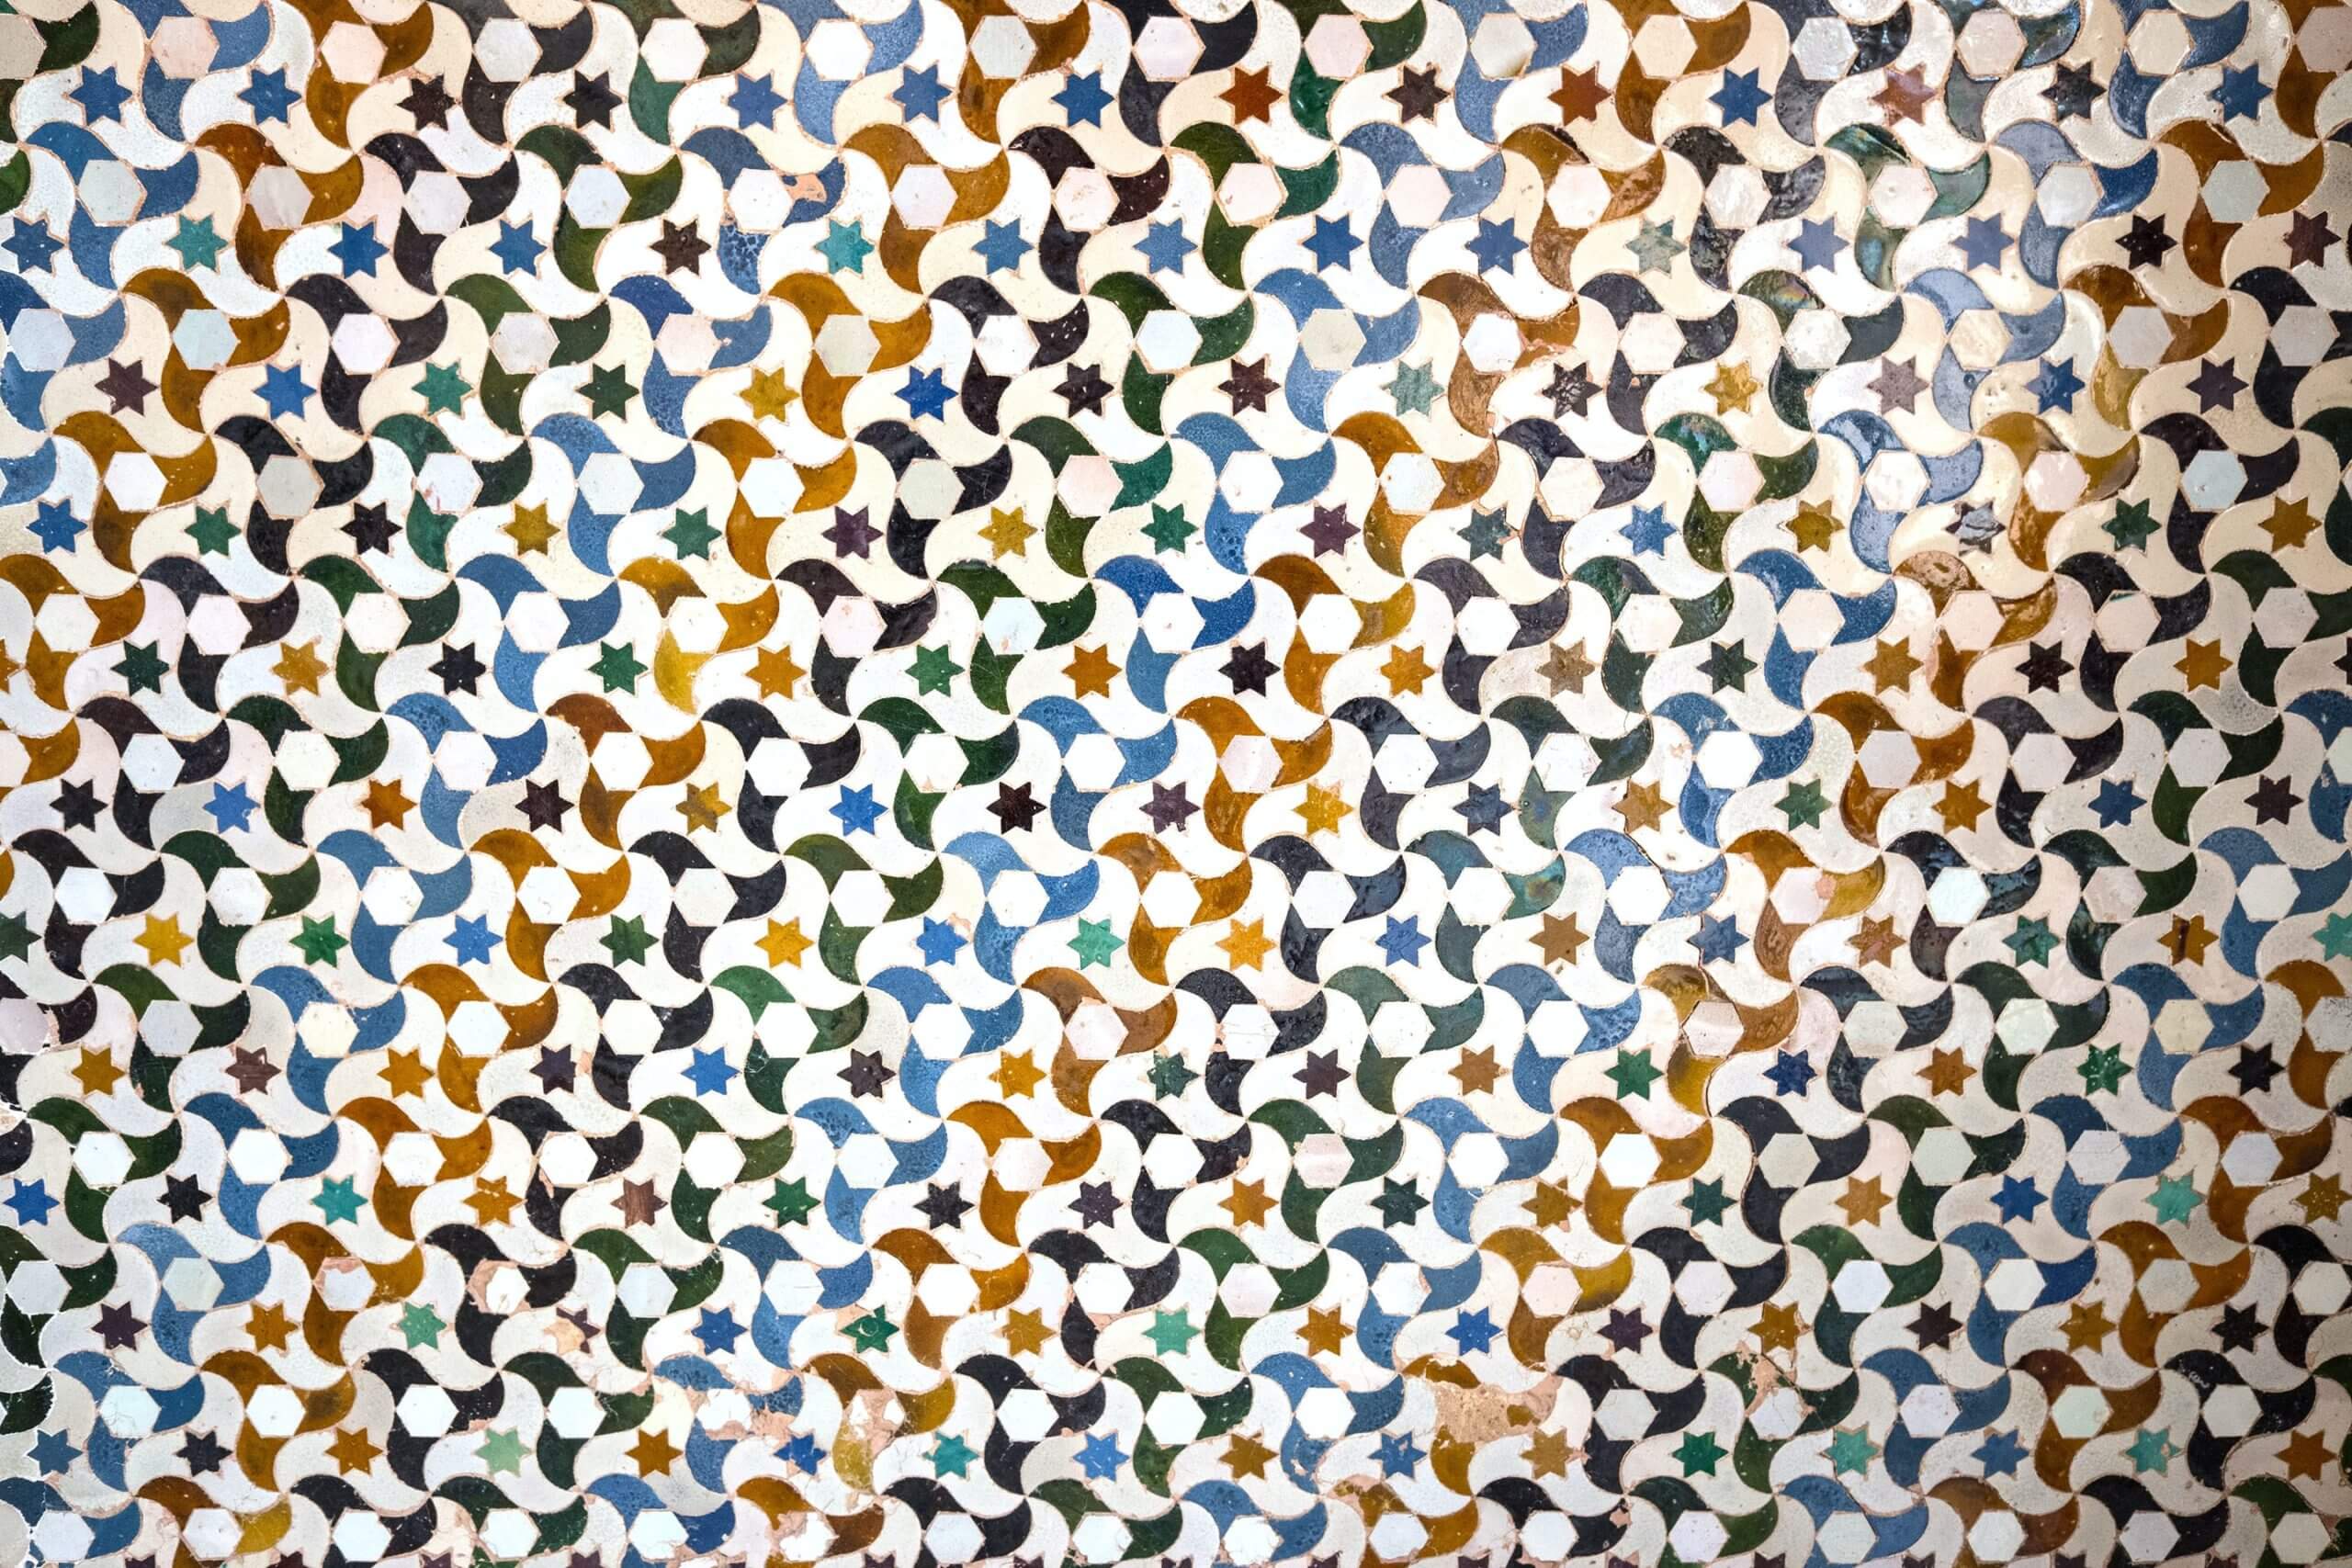
Tessellations are a fun activity for children to take part in during both math and art classes.
Contents
A tessellation is a pattern of flat shapes that is constantly repeated and joins together without any gaps in between.
The shapes that you use don’t necessarily all have to be the same shape, but the pattern does need to repeat itself. In this guide we will show you how to create simple tessellations.

All that you really need is a pen or pencil to draw with and a piece of paper. There are so many different styles and patterns to explore, so there is always a new tesselation to create.
You can start with basic shapes and move on to more complicated patterns once you have mastered the art.
While this a task that children often learn in school, there is no age limit on taking part and getting creative.
Tessellations can keep you occupied for hours on end and are a great way to exercise the mind. Teaching doesn’t have to be boring, and this is a great way to keep things interesting.
Types of Tessellations
There are lots of different types of tessellations, but for the basics, there are two main types. These are regular and semi-regular tessellations. There are certain factors for each one that makes them all slightly different.
Regular tessellations are tile patterns that are made up of just one single shape that is repeated to make a pattern. For this, you can use either rectangle, square, or hexagon shapes.
This type of tessellation has interior angles that are split from 360 degrees. A triangle, for instance, has three angles that equal 180 degrees, which can be divided from 360.
The same can be said for a hexagon, which has six angles, and the angles of this shape equal 720 degrees. This number can also be divided from 180 because 180 fits evenly into 720 if you were to times it by 4.
A semi-regular tessellation is formed when two or three different types of polygons share a common vertex (a corner point).
There are nine types of semi-regular tessellations, and an example of one is when you combine two hexagons with two equilateral triangles.
How to Create Simple Tessellations
If you have never created a tessellation before, it is better to start with the basics.
A simple tessellation is easier to create and will be less complicated when you translate it to paper.
Drawing a Simple Tessellation
For this tessellation, you will need a pencil, a ruler, and a piece of paper. Start by dividing the paper into three rows or columns.
You can measure equal rows with a ruler and draw lines across the page to do this.
Next, in the first row, draw a simple shape that covers the entire row. This can be any shape you want, but you could use a square, rectangle, or triangle if you are stuck for ideas.
After you have finished drawing your first shape, you need to repeat it again with the exact same dimensions as the first one.
These shapes need to fit next to each other with no space in between them. Then you can draw your third shape and keep going until you have filled the row.
If the shapes don’t match up at any point, you can start again on a fresh piece of paper.
If everything is going to plan, then you can keep drawing until you have covered the entire page.
When you have finished drawing the shapes, if you want to take things one step further, you can color in the different shapes in different colors.
When you feel that you have mastered this way of creating tessellations and need something a bit more challenging, repeat this entire process without creating rows and columns to work within. Instead, work with the entire blank page to create your design.
Cutting Tessellation
If you are feeling really confident about drawing tessellations, then it might be time to move on to cutting tessellations. This is a great cutting version for beginners that is easy and simple to follow.
You will need a pencil, five squares of paper that are the same size, and a pair of scissors for this task.
First, you will need to take one of your pieces of paper and cut a shape out of one side of it. I
t is important to note that if you start cutting your shape at the bottom of the paper, then you will need to finish cutting at the bottom of the paper. This is to make sure that the next steps work.
Next, you need to line your cut-out shape up with another square of paper. Make sure to carefully line up the edges and then trace around the shape using a pencil.
Repeat this process for the three square sheets of paper that you have left, and make sure that the cut-out is facing the same way each time.
At the end of this process, you should have your original cut-out and four additional pieces of paper with your shape drawn onto them. You no longer need the original shape.
Now, you need to take one of your squares and cut out the traced shape. Then rotate the square by 90 degrees so that the flat and uncut side is facing you. Now tape your cut-out to that edge of the square (facing outward).
Finally, all you need to do now is repeat the last step for your remaining squares of paper. When you have done this, you will have all of your final shapes that you can fit together to make a tessellation design!
Once you start to get the hang of this, you can start to mix things up by using more complicated shapes and designs to see what art you can come up with next.
There truly is no end to tessellations, and you can keep making new designs whenever you want to.
As a parent of a five-year-old inquisitive boy, I have gained a lot of experience finding fun activities and toys to help him understand science and understanding our world in general. On this blog, you’ll find an extensive amount of tutorials, guides, and toys about Science, Technology, Engineering, and Math based on my personal experience to help your child develop critical STEM skills.


